

*Camping World provided this product for review purposes.
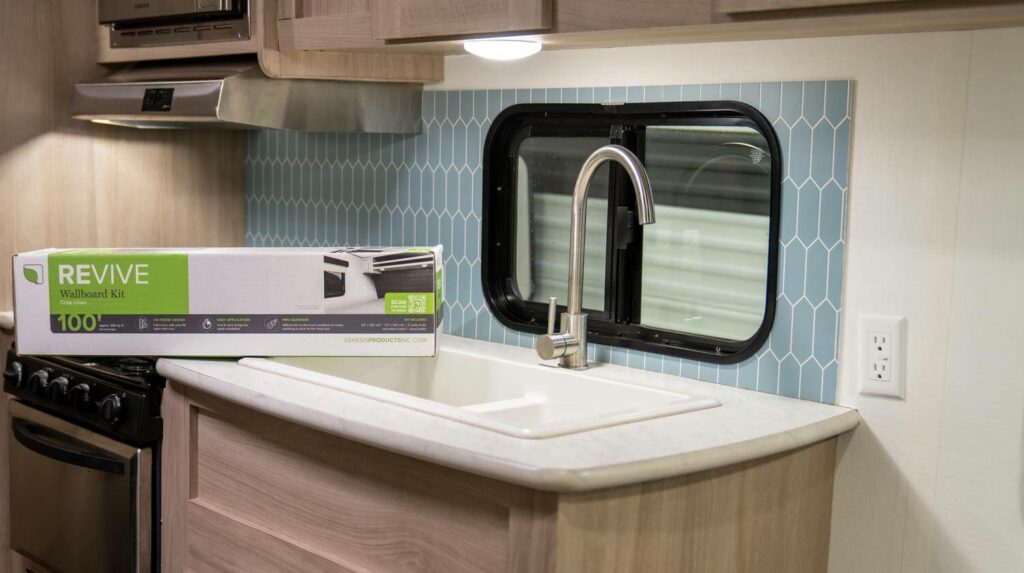
It’s time to update your RV interior! When I heard about the Genesis Revive RV Wallpaper Replacement Kit, I was curious to try it out for myself. As a professional RV renovator, I’ve tried several different products, paints, wallpapers, adhesives, and more.
Intrigued by its promise of easy installation and durability, I opted for the “Hazelwood” RV wallpaper replacement design, drawn to its rich colors and intricate wood grain print. I don’t know about you, but I’m over the all-white & cream-colored interiors. This is my honest review of the Genesis Revive RV Wallboard Kit.
Genesis Revive RV Wallpaper Replacement Kit At-a-Glance
As a professional who’s passionate about RV renovations, I can attest to the importance of finding the right materials to breathe new life into your trailer or motorhome. With a generous size of 100’ x 24”, this kit offers extensive coverage of up to 200 square feet, ensuring no corner of your RV goes untouched. The array of colors available provides ample options to suit your personal style and complement your existing decor.
- Size: 100’ x 24” roll
- Coverage: Up to 200 square feet
- Colors: Crisp Linen, Hazelwood, Oatmeal Linen, Steel Diamond, Stone Gray, Utah Gray, and Noble Oak
- Kit Includes:
- 100′ roll of 24″ decorative film
- 100′ roll of 1.5″ decorative seam tape
- Microfiber cloth
- Spray bottle
- 3″ putty knife
Learn more about this RV wallpaper replacement.
Who Is This For?
This RV wallpaper replacement kit is perfect for RV enthusiasts seeking a simple way to revamp their interior aesthetics without the commitment of extensive renovations. However, if you’re aiming for a structural overhaul, this may not be the solution for you.
Using Genesis Revive for an RV Wallpaper Replacement
The step-by-step process to install the Revive RV Wallboard Kit was similar to the steps I typically use for other peel-and-stick wallpapers. A simple DIY project such as this can completely transform your RV interior. However, if you have laminate cabinets, the strong adhesive on this wallpaper will remove the top layer of the cabinet finish. Use caution if you don’t plan to paint your cabinets, or if your cabinets have been painted prior to applying the Genesis Revive Wallboard Kit.
Here are the installation steps tailored for peel-and-stick wallpaper:
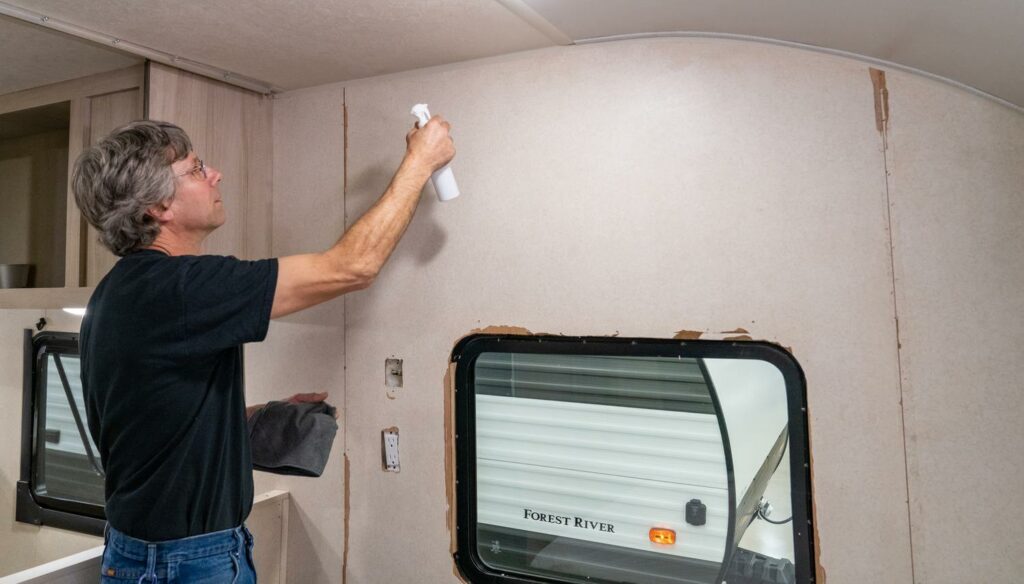
1. Prep the Surface
Begin by cleaning the wall surface thoroughly to remove any dust, dirt, or grease. Ensure the wall is smooth and free of imperfections for optimal adhesion. The kit includes a spray bottle for water and a washcloth to wipe clean. I prefer to use a degreaser to remove built-up grime.
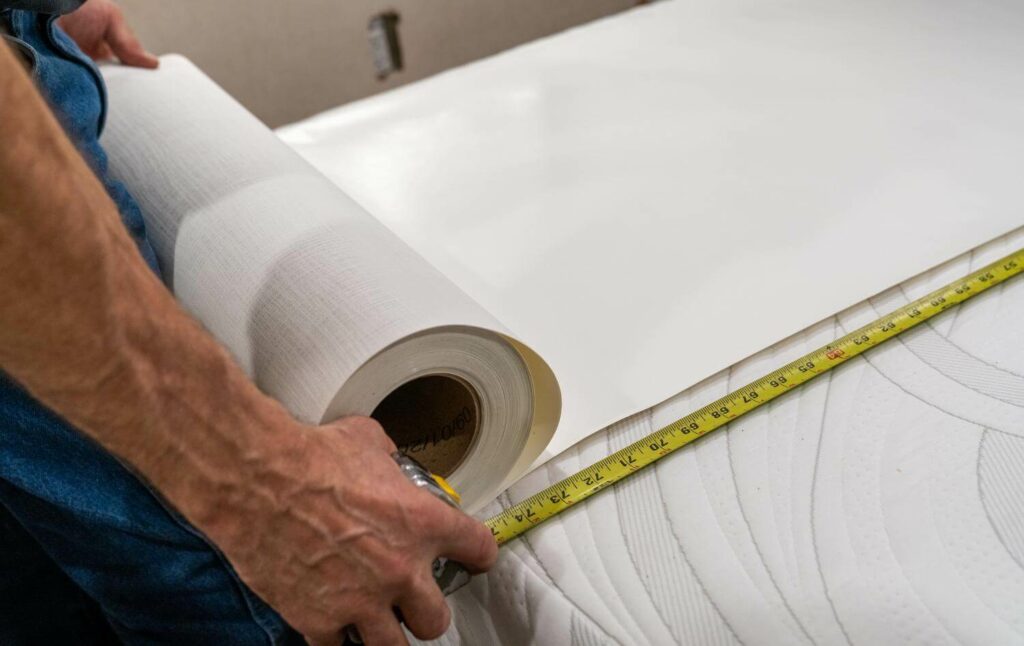
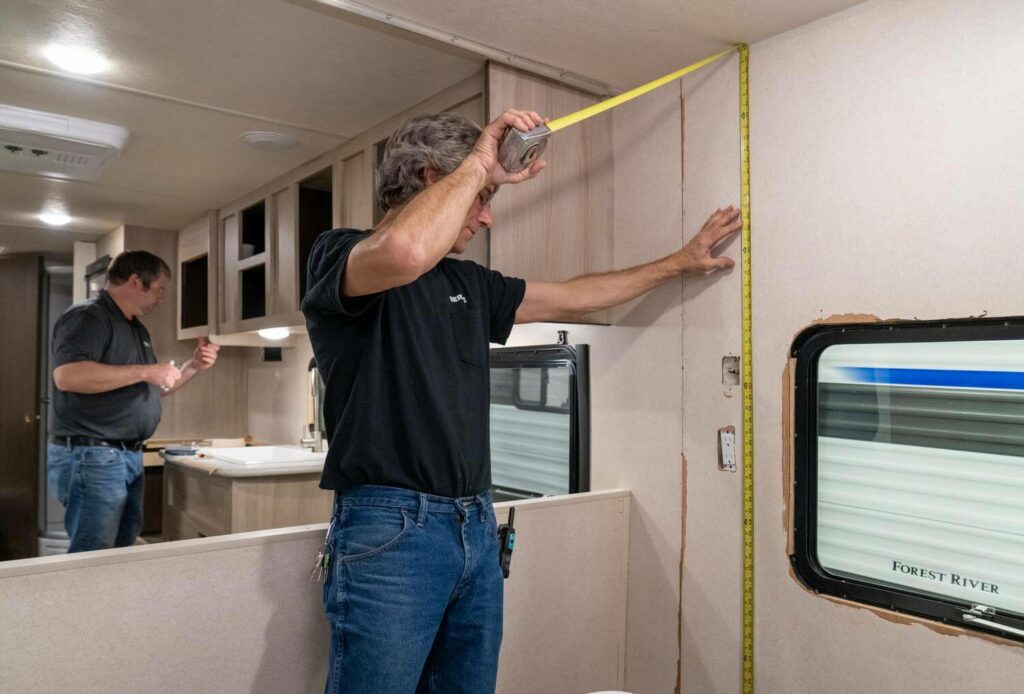
2. Measure and Cut
Measure the area you plan to cover with the peel-and-stick wallpaper and cut the wallpaper to fit the dimensions accordingly, leaving a slight overlap at the top and bottom for trimming.
3. Peel Off the Backing
Peel off a small portion of the backing from the top of the wallpaper panel, exposing the adhesive underneath. Be careful not to touch the adhesive surface to avoid compromising its stickiness. Also, use caution when applying near laminate cabinets. The adhesive will remove the top layer of the cabinet finish.
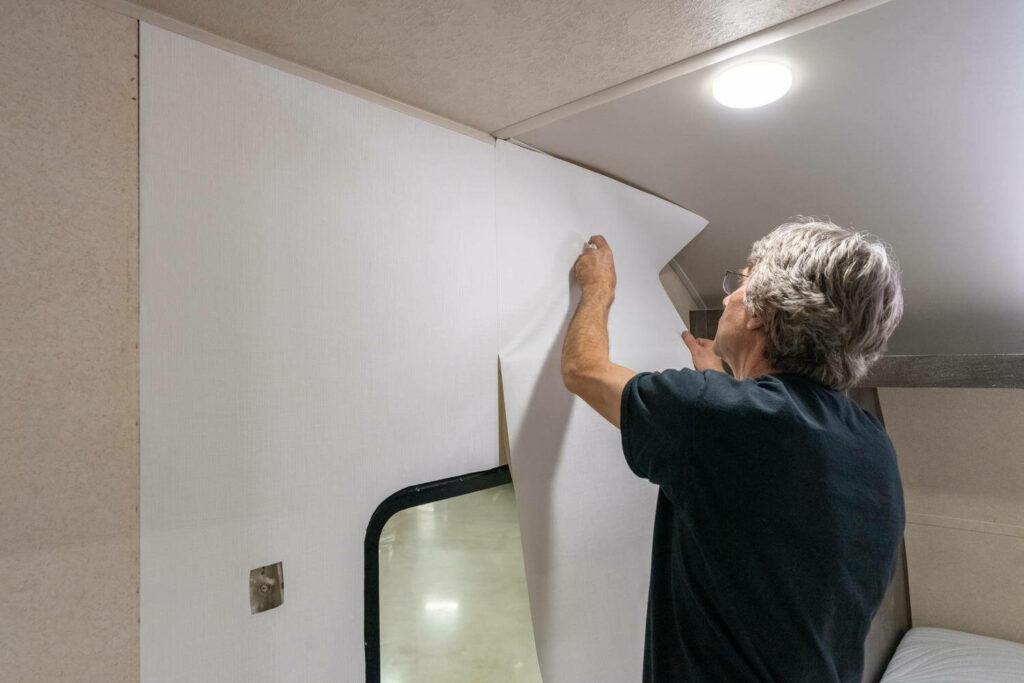
4. Align and Apply
Starting from the top corner of the wall, carefully align the top edge of the wallpaper with the ceiling or trim line. Slowly press the wallpaper onto the wall surface, smoothing out any air bubbles or wrinkles as you go.
Gradually peel away more of the backing as you continue to press the wallpaper onto the wall, working your way down the length of the wall. Use the putty knife included in the kit to ensure the wallpaper adheres evenly and smoothly.

5. Trim the Excess
Once the wallpaper is fully applied, use a sharp utility knife or scissors to trim any excess material along the edges and corners for a clean and seamless finish.
6. Inspect and Smooth
Step back and inspect the wallpaper for any remaining air bubbles or imperfections. Gently smooth out any areas that may need extra attention.
7. Enjoy Your New Look
Admire your freshly installed peel-and-stick wallpaper and enjoy the refreshed look it brings to your space.
Despite some minor challenges, such as the adhesive removing some of the cabinet finish, I am incredibly happy with the final result. The laminate cabinets in this RV will be painted, but I would have been more careful if the client wanted to keep the look of the original colors. The Revive RV Wallboard Kit gave this RV interior a fresh and modern look, and I highly recommend it to anyone looking to refresh their space with minimal time and effort.
What Are the Pros and Cons of this Genesis Revive Kit?
If I’ve read about a new tip for updating interior walls, I’ve tried it. I always hunt for new products and materials for my RV renovation designs. Trust me when I say many design products should not be used in an RV interior. As with most RV wallpaper replacement products, the Genesis Wallboard kit has its advantages and disadvantages:
Pros
- Swift one-day installation
- Compatible with existing RV wallboards
- Crafted with RV-rated adhesive for optimal durability
- Impeccable, intricate designs that instantly elevate your space
- Straightforward installation process, even for DIY novices
- Engineered with RV-specific adhesive, ensuring long-lasting adherence
- Provides a swift and effective modernization solution for outdated interiors
Cons
- Exercise caution when removing the packaging tape to prevent damage to the top layer
- Avoid adding additional adhesives post-application to maintain the integrity of the wallboard film
- Strong adhesive will remove the top layer of laminate cabinets
Genesis Revive RV Wallboard Kit Features
Why choose the Genesis Revive RV Wallboard Kit instead of a normal peel-and-stick wallpaper? The answer is in the adhesive. In my experience with several different brands and materials, the RV rated adhesive on this wallpaper is towards the top of my list for its durability. Most regular peel-and-stick wallpapers may peel off, or bubble due to extreme weather changes in an RV.
- Specially formulated adhesive tailored to withstand the rigors of RV life, ensuring durability
- Modern designs meticulously crafted to add depth and character to your space, setting it apart from generic wallpaper options
- Seamless installation process akin to applying peel n’ stick wallpaper, making it accessible for individuals of all skill levels
Would You Recommend the Genesis Revive RV Wallboard Kit?
Yes, I’d recommend the Genesis Revive RV Wallpaper replacement as a DIY option for the average RV owner looking to update their space. Knowing that it’s made with RV-rated wall adhesive gives me some peace of mind, so I’m not as worried that it will come off the next day or during extreme weather changes.
This kit offers a convenient and aesthetically pleasing solution for sprucing up your living space on the road. Just exercise caution when handling the packaging tape to avoid any mishaps. I was disappointed to see some of the top layer peel off when I tried to remove the packaging tape.
If you’re tired of your outdated RV interior and yearn for something more sophisticated, this kit is a great solution to bring your space back to life. With its straightforward installation process and durable adhesive, it’s suitable for both seasoned renovators and those new to DIY projects alike.
How Does Genesis Revive Compare to the Competition?

Having had the opportunity to test out various renovation materials and techniques, I can confidently say that this kit offers a refreshing solution for breathing new life into your RV space. With a wide selection of colors, the Genesis Revive Wallboard Kit is a product that I would use again for future renovations.
In comparison to traditional wallpapers or wall coverings, the Genesis Revive peel-and-stick RV wallpaper stands on its own for its tailored design and ease of installation. Beyond this 100’ x 24’ roll, Genesis also offers a 50’ roll that covers up to 100 square feet.
For those exploring similar products, Camping World’s website offers a plethora of options to suit your needs.
Remember that your RV renovation journey doesn’t end here. Camping World offers a vast array of RV renovation products and resources to enhance your mobile living space. Check out our other articles and guides on RV interior design, renovation tips, and must-have accessories to unlock the full potential of your home on wheels. Happy renovating!
Explore more RV renovation content:
Do you have any questions about this RV wallpaper replacement? Let us know in the comments below.