

Backing up and parking our RV might be my least favorite part of camping. It takes time, practice, and knowing the angles of the RV. Plus, I’d rather go camping than spend time backing up, but it’s just one of those RV skills that are necessary.
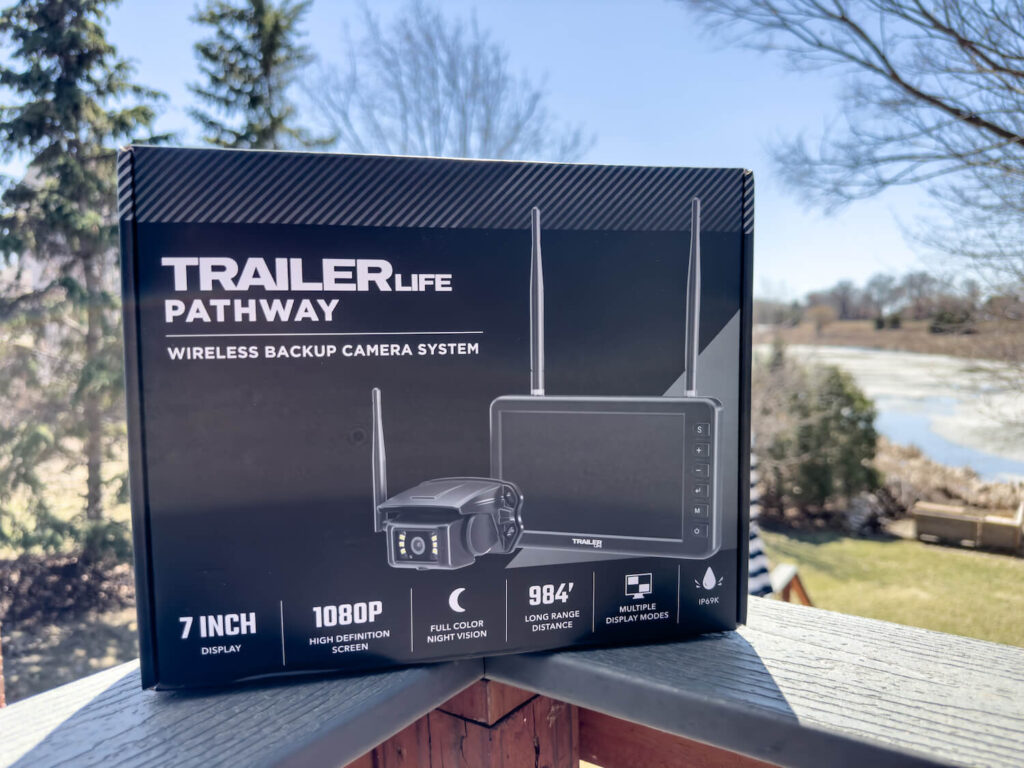
It’s all the more reason to test Camping World’s Trailer Life Pathway Wireless Backup Camera System. Today’s RVs typically come back-up camera ready or already have a backup camera installed.
Our fish house RV has neither, making it the perfect RV to test the new backup camera. Here’s what we love about the Trailer Life Pathway Backup Camera.
Easy Installation

One of the main advantages of the Trailer Life Pathway Wireless Backup Camera System is its ease of installation. The camera has simple instructions, making it easy for even a novice to install. That means we’re saving time and money, as we don’t have to hire a professional to install the camera.
We did have to drill holes in our RV to access the wires attached to the running lights. We aren’t big DIY people, so the fact that we figured out how to do this and successfully installed the backup camera impressed me.
Improved Safety
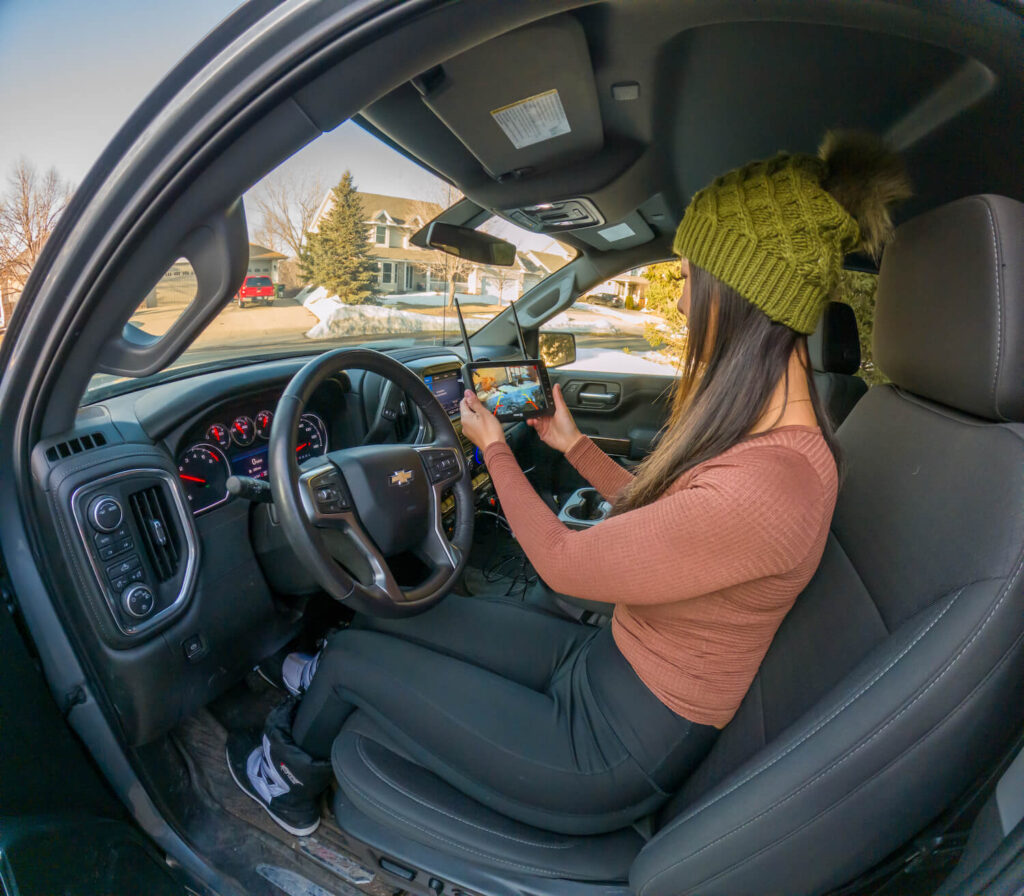
I’ve grown so accustomed to having a backup camera on our vehicle. Having one on our RV is a game-changer. I feel much safer now because the camera lets us see areas behind the RV that we normally can’t.
It ultimately makes it easier to back up and park safely, especially if I don’t have someone guiding me. Getting that extra visual will help prevent accidents and damage to our RV in the long run.
Wide Viewing Angle
The Trailer Life Pathway Wireless Backup Camera System boasts a wide viewing angle, which allows us to see more of our surroundings. This feature is especially useful when backing up in tight spaces or maneuvering in crowded areas.
Excellent Range
One of the main advantages of the Trailer Life Pathway is its far-reaching range of 984 feet. The camera shows a crisp, clear picture on the monitor, and even larger RVers shouldn’t run into any issues with range.
Night Vision
The camera also has night vision capabilities, which means we can see what’s behind our camper even in low-light conditions. We found the night vision capabilities acceptable but not super clear, which is fine for our needs since we typically don’t travel at night.
Affordable
The Trailer Life Pathway is relatively affordable compared to other RV backup camera systems. This makes it an attractive option for RVers who want to improve their safety and convenience without breaking the bank.
The Trailer Life Pathway Wireless Backup Camera System is already helpful for our camping adventures. It’s an affordable tool for RVers who want to improve their safety and convenience while on the road.
Check the price of this backup camera at your local Camping World.
How to Install the Trailer Life Backup Camera
The installation is easy if your RV already has a backup camera or is prepped for one. Your camera will come with a step-by-step installation manual, but here’s a quick summary:
1. Sync the camera to the display.
Start by mounting the antennas to the display and the backup camera to do this. Then, connect the 12-volt power cord to the pairing cable to supply power to this display and camera. The display should turn on and show whatever you currently have the camera pointed at.
2. Mount the display.
The Trailer Life Pathway Backup Camera has two mounting options: a center console mount with a 3” adhesive pad or a suction cup mount. This allows you to mount the display where it’s most convenient, based on your vehicle’s dash design.
Safety tip: Check your local guidelines for dash-mounting regulations to ensure proper visibility while towing.
3. Ensure a safe installation environment.
Your trailer’s tires should be secured with wheel chocks before installation. It should also be leveled and stabilized properly to ensure your safety while you’re up a ladder completing the rest of your installation.
Here’s our tutorial on how to properly level and stabilize your RV.
4. Remove the old camera or camera prep cover.
Check the screws used to mount your old camera or prep cover and find the appropriate bit to remove them correctly. With that bit in hand, remove the old camera or cover and disconnect before removing the backer plate.
5. Install the new camera.
Use the Trailer Life plug-and-play wiring adapter to connect the new camera to your RV’s backup camera prep wiring. It’s a good idea to test that the camera connects to your tow vehicle’s display before using your four screws to install the backer plate and secure the new camera.
Technician Tip: Your trailer’s 7-pin electrical connector must be plugged into your tow vehicle to power your backup camera. You may also need to turn your vehicle’s lights on.
6. Adjust the antenna and test the camera.
Trailer Life recommends positioning the antenna to point up and away from your RV. With that step complete, find a partner to check the display in your tow vehicle. They can help you adjust the camera angle up or down to display the optimal view.
You should also check that your display shows at least three connection bars. If you don’t, adjust the antenna’s position until the desired connectivity is achieved.
With your new Trailer Life Pathway Backup Camera installed you can enjoy easier navigating into campsites, parking lots, and driveways. Plus, it’s easy to remove and re-install if you ever decide to upgrade your RV!
Do you have any questions about this backup camera and how to install it? Let us know in the comments below.