
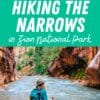
Is the Narrows hike in Zion National Park on your bucket list? With an exciting trail that follows the curves of the Virgin River and takes you between narrow canyon walls reaching 1,500 feet tall, it should be! In this guide, we’ll walk you through everything you need to know about hiking in the Narrows so you can start planning your trip.
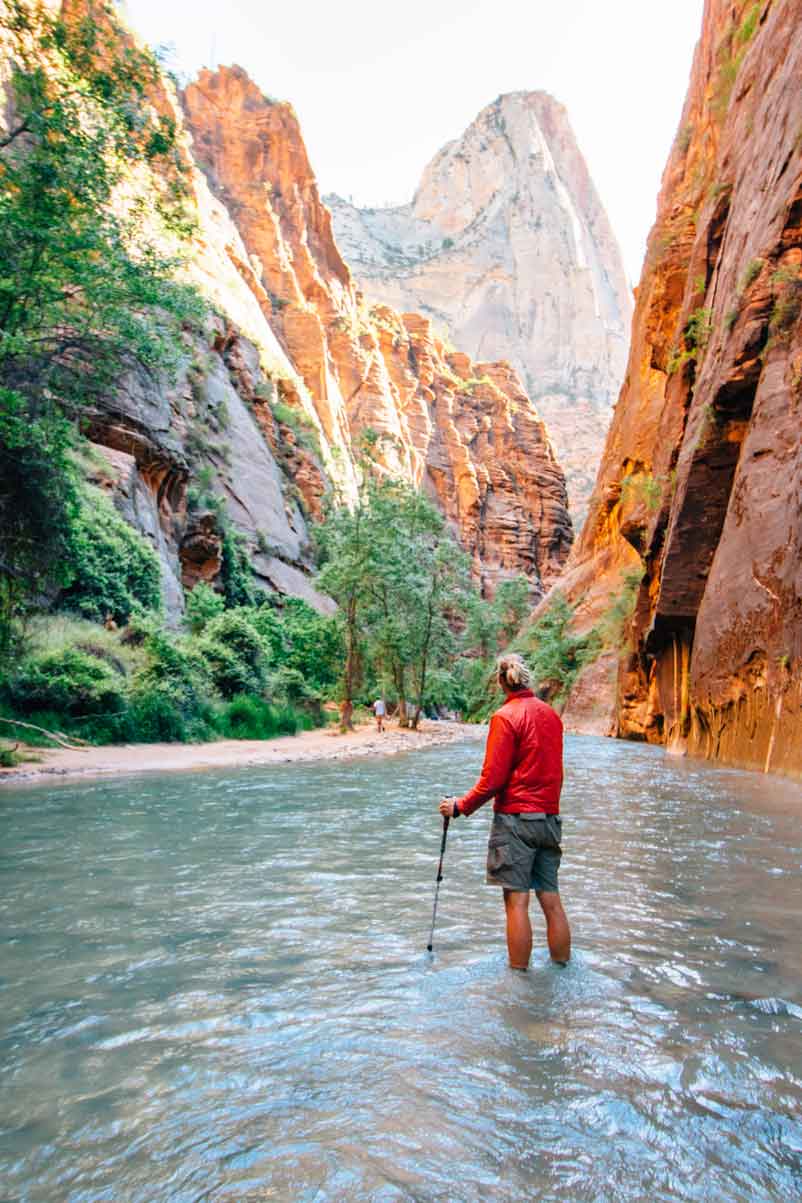
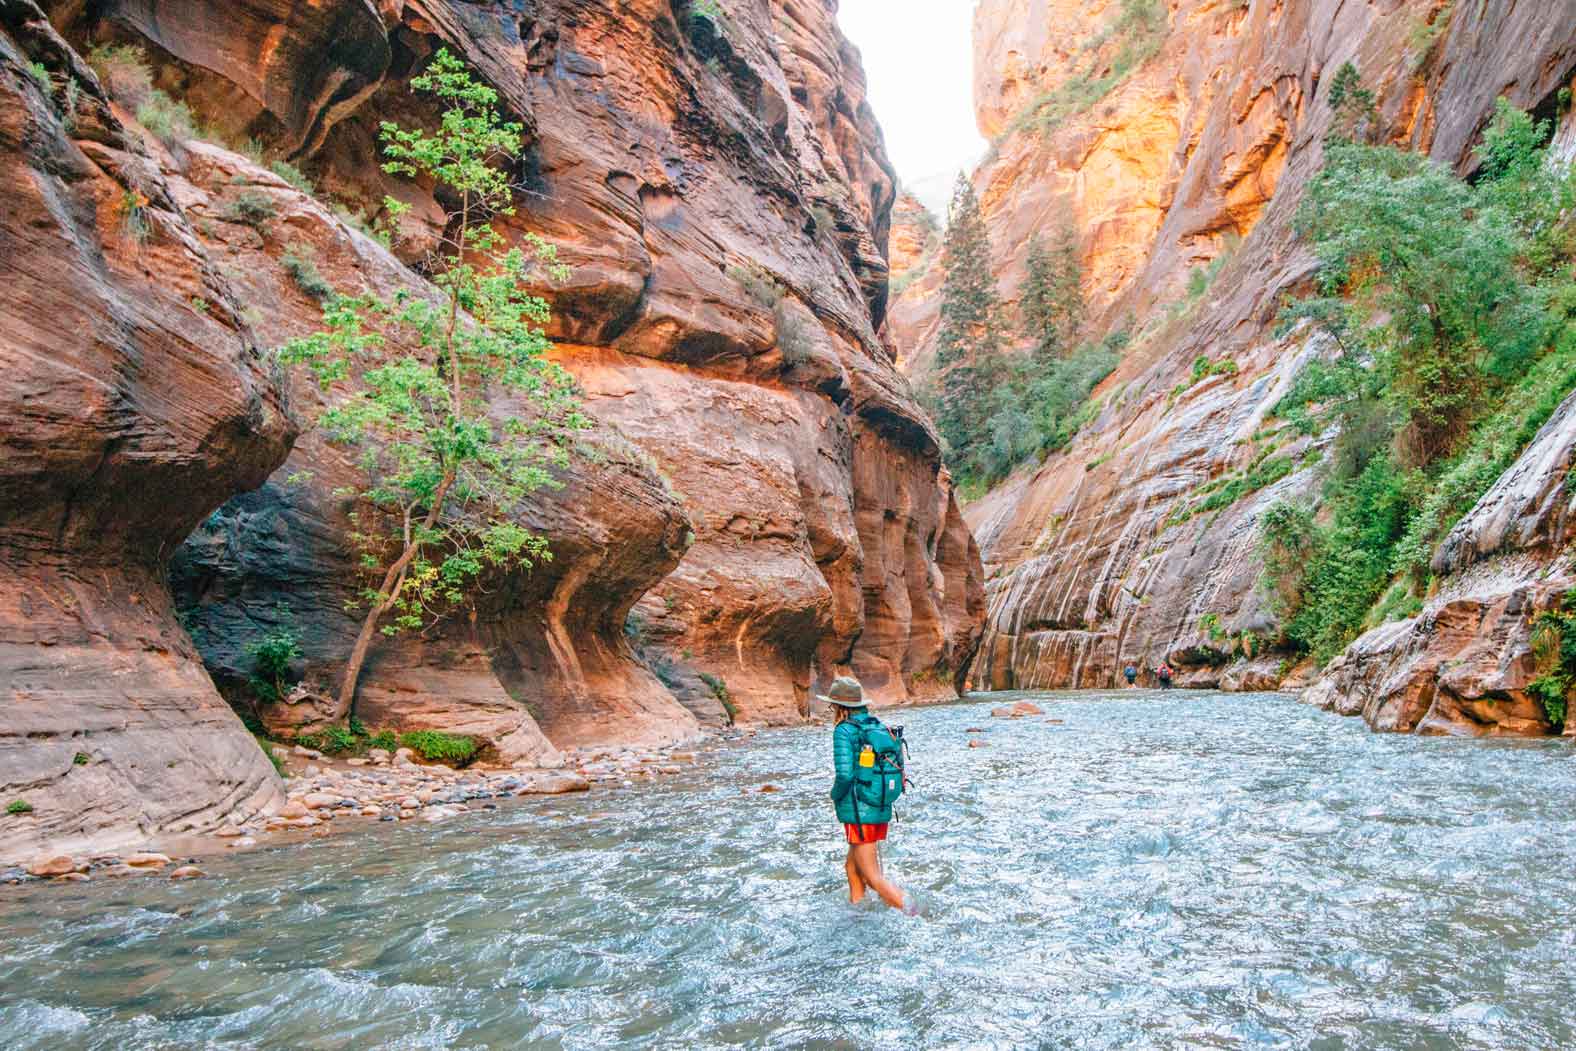
The Narrows is one of the best hikes in Zion National Park. Formed over millions of years and shaped by the erosive forces of the Virgin River, the trailhead starts towards the back of the main Zion Canyon, where the river flows between the towering canyon walls.
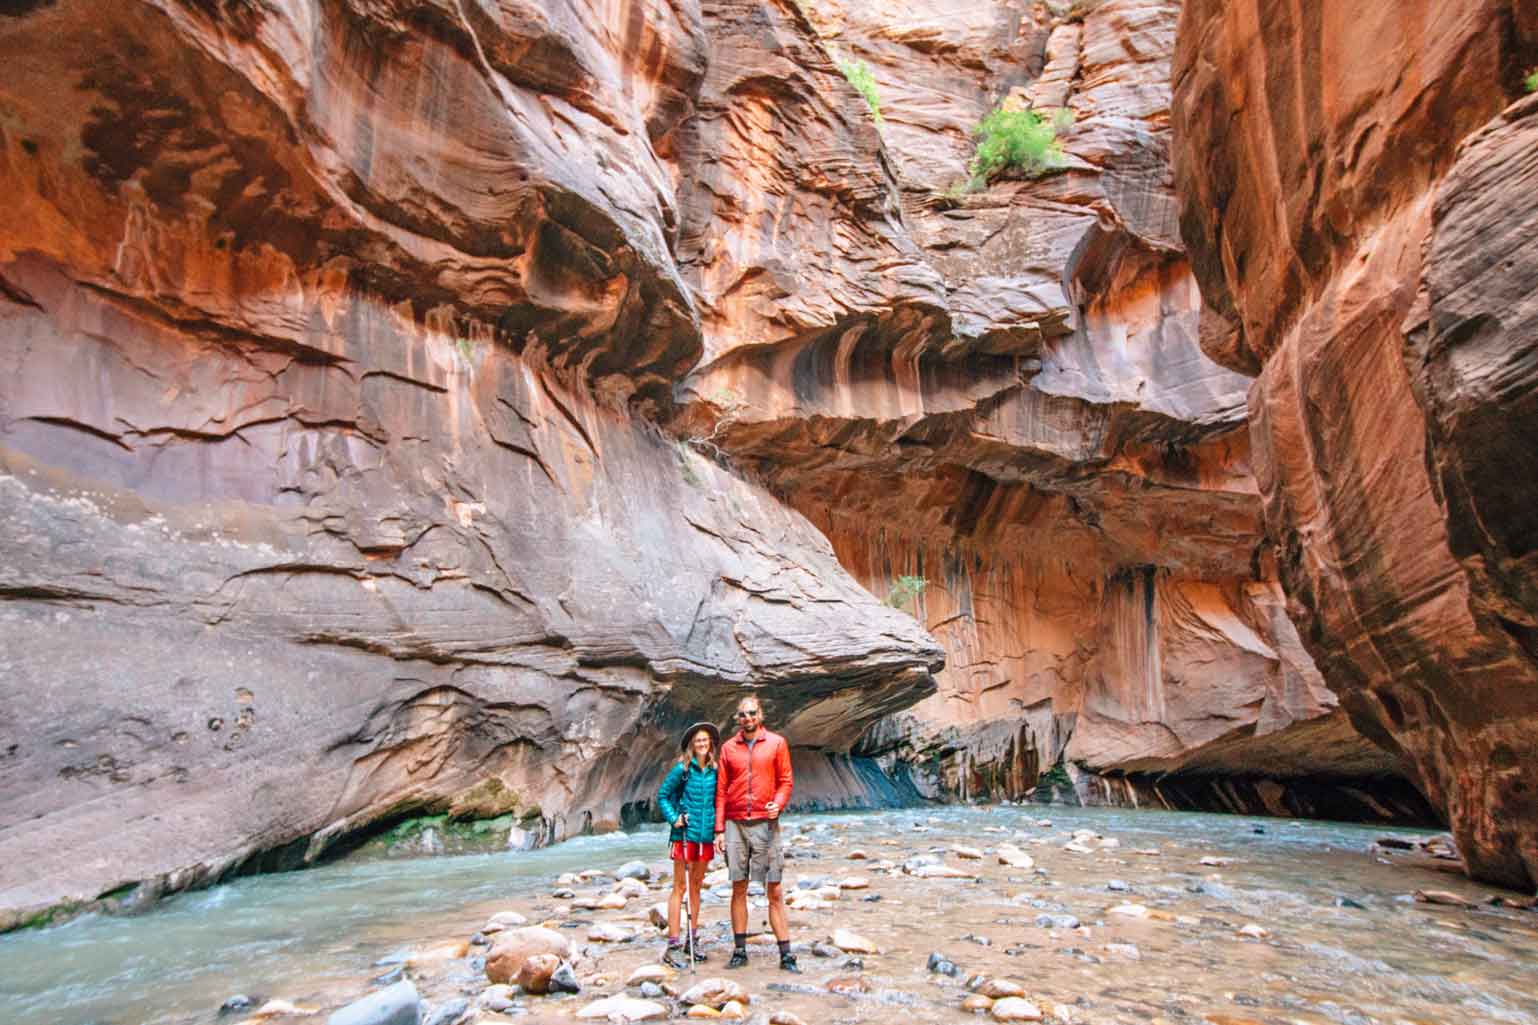
There’s not much room for an actual trail, so for much of the hike, you’ll forge your own path through the river as you wander through this epic slot canyon.
In this guide to hiking the Zion Narrows, we’ll cover everything you need to know about this unique hike, including the different routes, the permit process, essential gear, and tips on staying safe during your trip.
Quick tips for hiking the Narrows
Planning your Zion Narrows hike
If you plan to hike the Narrows during your visit to Zion National Park, you’ll want to consider which route to take, know what to expect during different seasons, and make sure you have the right gear. In this section, we’ll go into all the details!
Route options & permits
There are three routes to choose from. Here’s a brief overview of each (you can read more details about the routes in these sections).
Bottom-up day hike
This is the most popular way to hike the Narrows. This route begins at the Temple of Sinawava, accessible by the Zion Canyon Shuttle, and does not require a permit. You can venture as far as Big Spring before turning back, covering a total distance of about 10 miles round trip. This option allows hikers to explore the Narrows without dealing with complicated logistics or committing to a full-day or overnight backpacking trip.
Top-down overnight hike (permit required)
This is a more challenging, 16-mile route hiked over the course of two half days. You’ll start at Chamberlain’s Ranch (located outside the park) and trek through the entire length of the Narrows, ending at the Temple of Sinawava. This option offers a more immersive experience and includes camping in designated sites within the canyon.
Top-down day hike (permit required)
A top-down, single-day hike is the most challenging way to hike the Narrows. The average time it takes to hike this 16-mile route is 12 hours. For this hike to be feasible, you’ll need to be a very strong hiker and have enough daylight hours during your visit to complete the hike.
How to obtain your permit
There are two steps for obtaining your permit to hike the Narrows top-down:
1) securing an advanced reservation online, and
2) purchasing the actual permit at the visitors center before your hike.
Reservations for top-down permits open at 10 am (Mountain Time) on the 5th of the month for hikes the following month. Sound confusing? Here’s how that timing works out:
| For a trip in… | Online reservations open at 10 am MT on: |
| January | December 5th |
| February | January 5th |
| March | February 5th |
| April | March 5th |
| May | April 5th |
| June | May 5th |
| July | June 5th |
| August | July 5th |
| September | August 5th |
| October | September 5th |
| November | October 5th |
| December | November 5th |
To reserve a top-down backpacking permit, go to this page on the National Park Service website and select one of the “Narrows Site” options from the Resource Area drop-down menu (the numbers correspond to these campsites). You’ll be directed to the availability calendar—green dates are available and red dates are not. Select your date, then log in to pay the $5 reservation fee.
To reserve a top-down day hiking permit, go to this page on the National Park Service website and select “Virgin Narrows Dayuse Trail From Top” from the Resource Area drop-down menu. You’ll be directed to the availability calendar—green dates are available and red dates are not. Select your date, then log in to pay the $5 reservation fee.
To pick up and purchase your permit, head to the visitors center the day before your hike or the day of your hike. The visitors center is usually open 8am-5pm (double check here), so if you plan to get an early start, go the day before. The person listed as the reservation holder must pick up the permit in person at the Visitor Center Wilderness Desk and pay the permit fee (this is in addition to the reservation fee already paid): $15.00 for 1 to 2 people, $20.00 for 3 to 7 people, or $25.00 for 8 to 12 people.
What if I couldn’t reserve a permit online?
There are a few options if you weren’t able to reserve an advance permit online. The easiest, of course, is to hike the Narrows bottom-up, which doesn’t require a permit.
Only half of the backpacking permits are available in advance, leaving the others available the day before on a first come, first serve, walk-in basis.
For top-down day hikes, you can apply for the Last Minute Drawing for any open reservations. The application opens 7 days before the hike date and remains open until 12pm MT two days before. The drawing is held at 1pm MT two days before the hike.

Best time to hike the Narrows
Summer: Zion sees increased visitation from June through September, so this is the most popular time to hike the Narrows, but it’s also the most crowded. July-September has the highest flash flood potential. However, this is also when the water and air temperatures are warmest, so you likely will not need to rent special gear like dry pants/suits.
Fall: The end of September and October are widely considered the best times to hike the Narrows. Water levels are lower, there is a reduced risk of floods, and crowds are thinner. However, temps are starting to drop.
Winter: This time of year is downright cold (hypothermia is a real risk), but it is possible to hike with the right gear. The water levels and flood danger are typically low.
Spring: The Narrows are often closed for much of April and sometimes into May due to high water levels. However, if the water is right, the latter part of May is a great time to hike (this is when we did it).
Essential gear to hike the Zion Narrows
In preparation for this hike, many people decide to rent specialized gear like canyoneering shoes, neoprene socks, walking sticks, waterproof pants, and even full zip-up dry suits. While this gear can be absolutely essential during winter and early spring, it can be a little overkill during the warmer summer months. In the summer and early fall, when the water is warm, it is possible to hike the Narrows with the basic hiking equipment you probably already own:
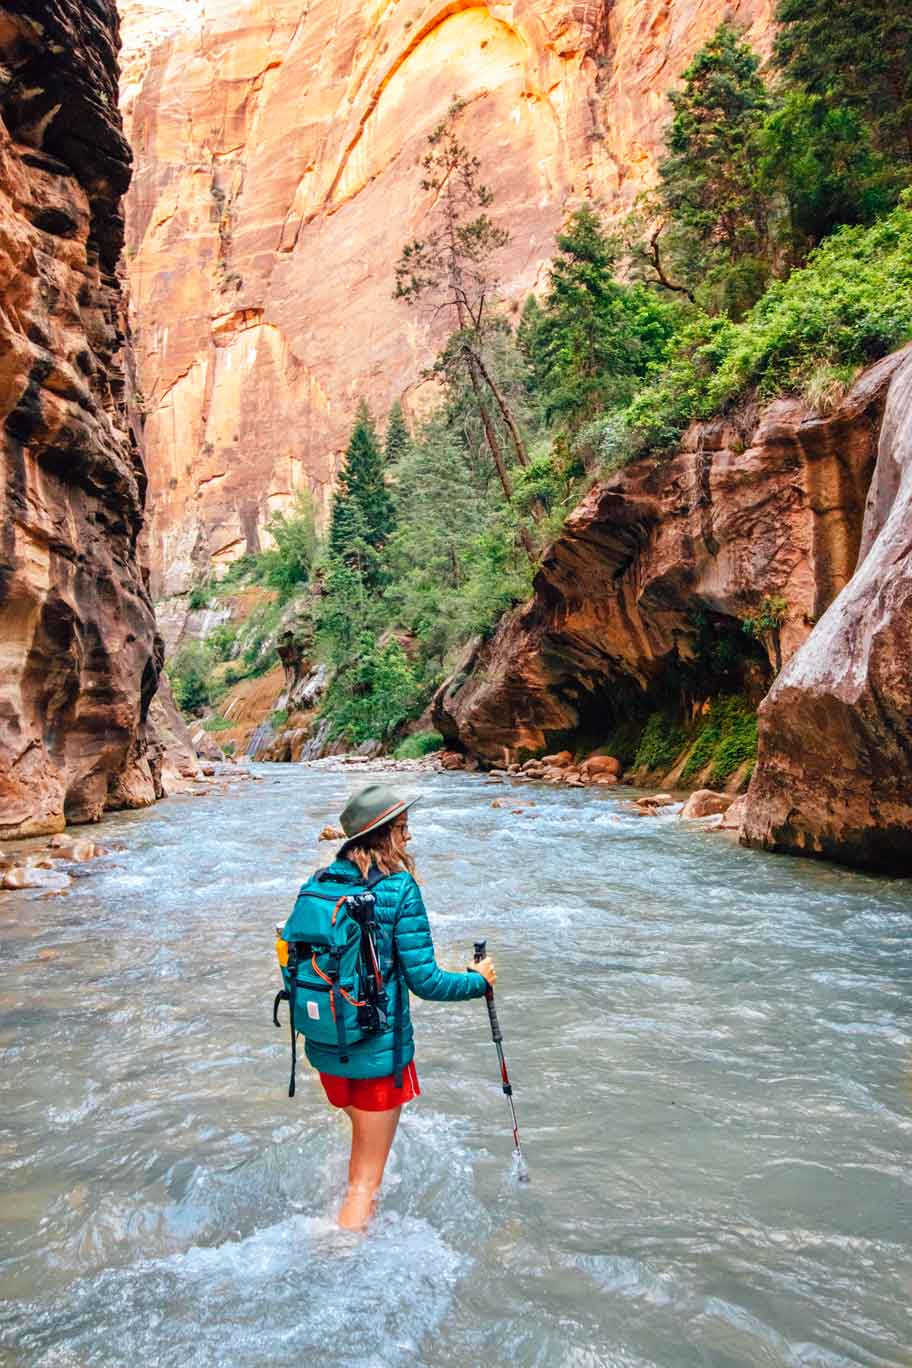
Footwear: Since much of the hike is spent walking in a river with varying-sized rocks, you’ll want to wear closed-toe shoes with sturdy, grippy soles. Leave your Tevas, Chacos, flip flops, and soft water shoes behind and opt for a pair of trail runners or light hiking boots, ideally with a Vibram sole. Alternatively, you can rent canyoneering boots, which are designed to provide a solid grip when hiking in water.
Socks: Wet socks and shoes can be a recipe for blisters, which is why many people opt to wear neoprene socks, which fit snugly to avoid rubbing against your wet skin. We personally wore wool socks with our light hiking boots during our hike and didn’t experience any blisters.
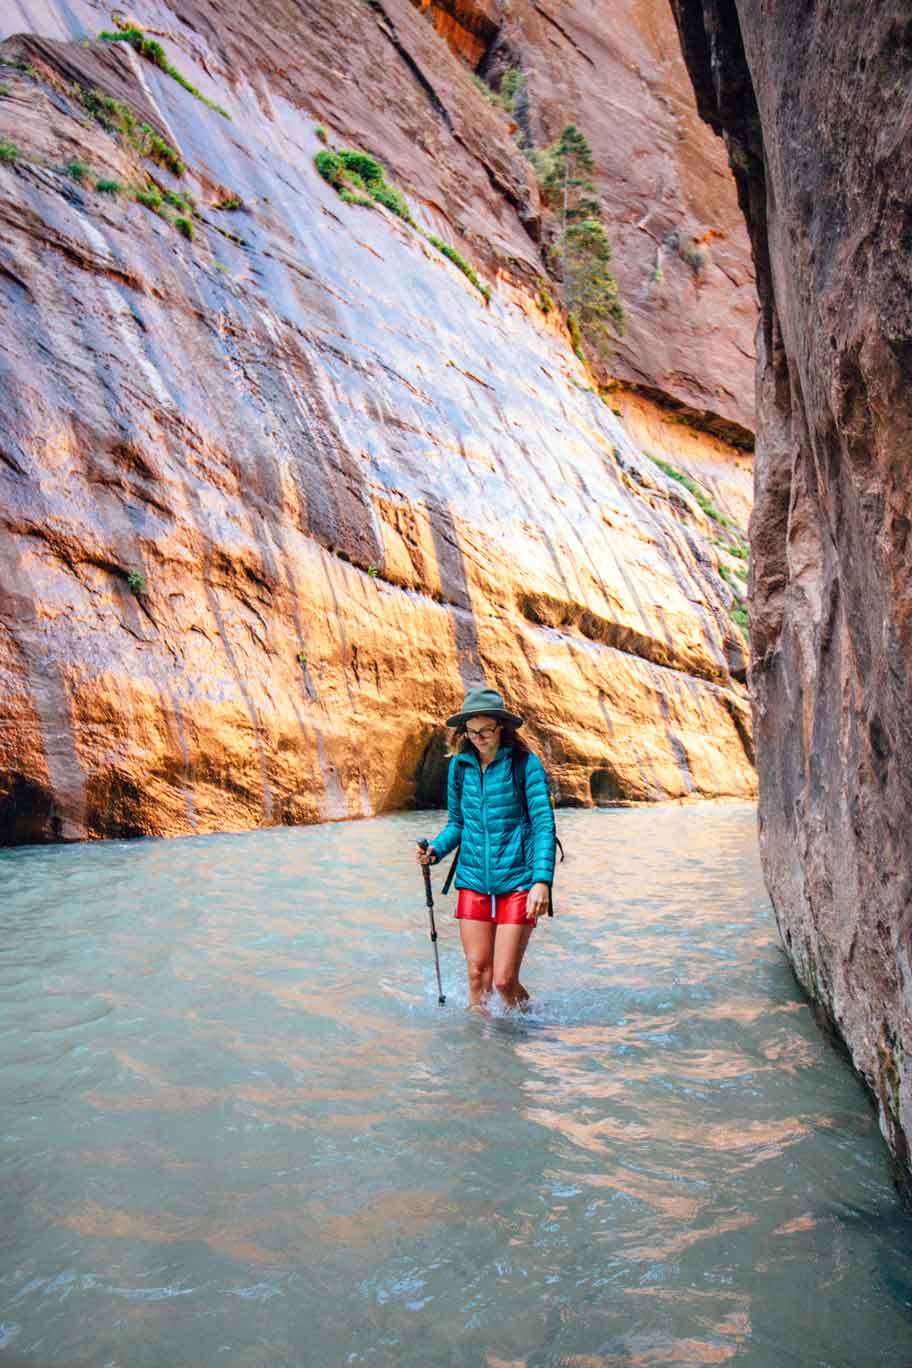
Clothing: Our biggest tip here is to wear layers! Start with a lightweight and quick-drying synthetic top and bottoms (avoid cotton). Pack a synthetic insulating jacket in a dry bag—even in summer. In colder months, you may also want to bring a fleece mid-layer.
Hiking stick/poles: The most common rental you’ll see when hiking the Narrows is a classic wooden walking stick. The fast current and uneven riverbed can make it a challenge to maintain your footing, so having a way to support yourself can prevent a tumble into the water. We used our trekking poles and they worked just fine.
Dry bags and waterproofing: A waterproof dry bag will keep your electronics safe in the event you do end up in the water. It’s also a good idea to store your warm layers in a dry bag when you’re not wearing them.
Water: You need to carry all the water you need for your hike. Because of the presence of cyanobacteria, there is no way to treat the water to make it safe to drink from the river.
Rental options in Springdale
In cooler months, you may need to rent specialized gear to safely hike the Narrows. These are some of the items that can be rented for your hike:
Footwear Package: Most gear outfitters offer a package that includes canyoneering shoes, neoprene socks, and a walking stick. These items are helpful any time of year, helping to provide solid footing and stability when walking on the rocks in the river. The neoprene socks help insulate your feet and prevent blisters.
Dry pants: During the cooler fall and spring months, dry pants will help keep your legs warm and dry.
Dry bibs: If you’re likely to encounter sections of the hike with water levels at or above your waist, opt for a dry bib.
Waterproof bags/dry sack: For clothing and camera gear.
Here are the most popular and highest-rated gear rental shops near Zion:
What to expect on a bottom-up day hike
Length and difficulty level
The Narrows hike can be as short as two miles round trip along the Riverwalk, up to 10 miles to go all the way to Big Springs and back. It all depends on how long you want to hike.
The difficulty of the hike depends primarily on the current water flow rate in the canyon (measured in cubic feet per second, or CFS). As the CFS increases, so does the speed and height of the water.
A CFS rate of 0-60 makes for an easier hike, 60-90 is moderately difficult, and rates of 90+ are increasingly challenging (and not suitable for smaller children). If the CFS passes 150, the park service will close the Narrows.
Here, you can see a graph of the current flow rate:
Mile-by-mile itinerary
Trailhead: The hike begins at the Temple of Sinawava. This is the last Zion Shuttle stop (#9) from the Zion Canyon Visitor Center.
Mile 0-1: The first mile of the hike follows the Riverside Walk trail. This path is paved and follows along the river, and you’ll be able to enjoy close-up views of “weeping walls” and hanging gardens. If you have young kids, or if the water levels are too high to do the entire hike, you can do just this section for a scenic, 2-mile hike.
Miles 1-3: Once the Riverside Walk ends, be ready to get wet because after this point, you’ll begin to hike in the river. Here, you’ll come to the Gateway of the Narrows and the lower Narrows, where the river usually extends wall-to-wall.
A half-mile past the end of the Riverside Walk, you’ll reach Mystery Falls, a 110-foot waterfall that cascades down the canyon walls.
Keep hiking as the canyon twists and turns. In another mile, you’ll reach the Narrows Alcove—a cool feature where the river has begun to carve under the canyon walls, creating an alcove of overhanging rock walls.
Miles 3-4: At the three-mile mark, you’ll come to a junction with Orderville Canyon (it will be on the right). You can take a detour through this narrow slot canyon, which will lead you to Veiled Falls. It’s about 1½ miles round-trip to walk through Orderville Canyon. We recommend saving this for the way back (if you’re up to it) and continuing up through the Narrows instead.
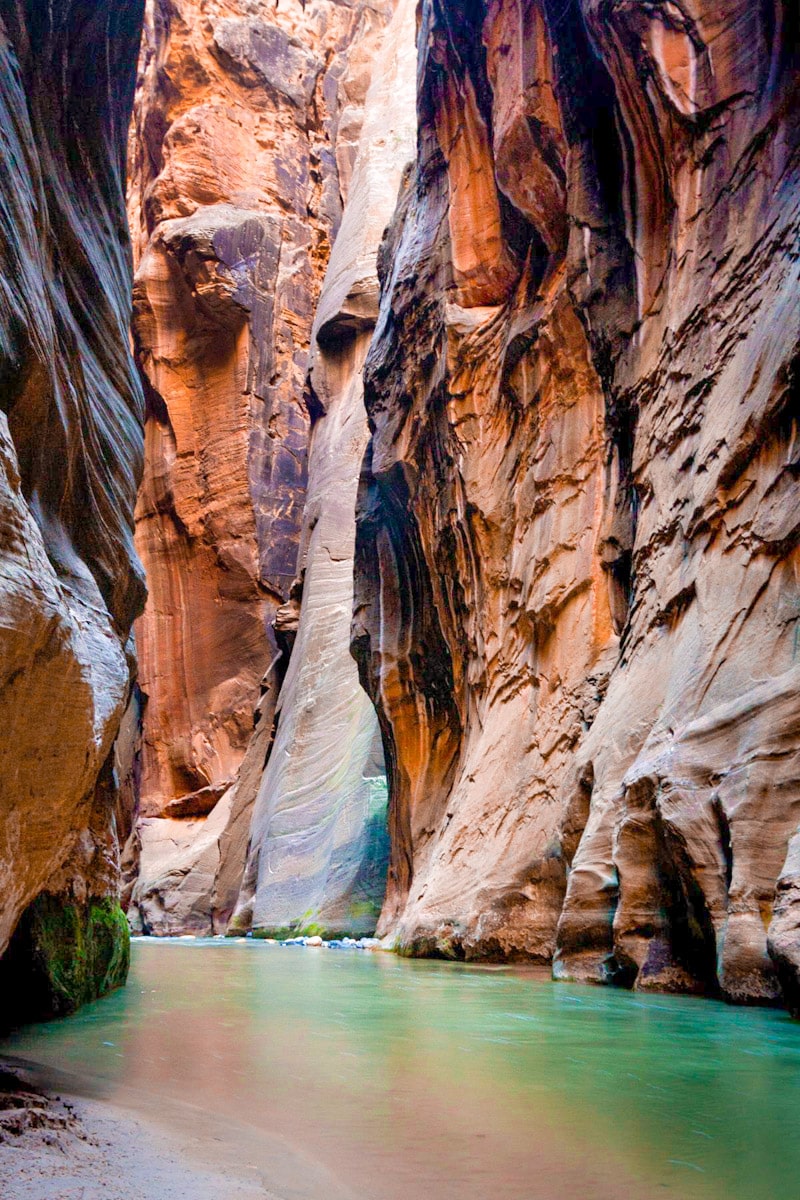
After passing the entrance to Orderville Canyon, you’ll begin the section of the Narrows known as Wall Street. This is the most well-known part of the hike, where the canyon starts to close in, and you’ll really begin to appreciate just how tall the walls are!
Shortly after entering Wall Street, you’ll come to Floating Rock, a huge, 45-foot wide boulder that sits right in the middle of the river. After this point, the water pools become deeper. Depending on the overall water levels, you may encounter water that is waist-deep or higher. If you’re not ready to get that wet, this is a good turnaround point.
Wall Street continues for another half mile or so passed Floating Rock. You’ll see a set of boulders that will mark the end of Wall Street.
Miles 4-5: The canyon walls will widen once again, and you can hike for another mile upstream before reaching the final landmark and end of the bottom-up hike: Big Springs. Here you’ll find a number of small waterfalls created by the springs flowing through the canyon walls.
Once you reach this point, you’ll turn around and head back downriver. The hike back down is typically a little easier (because you’re walking with the current) and will often take half the time it took you to hike the trail upriver.
What to expect on top-down hikes
In addition to securing a permit, a top-down hike of the Narrows requires some additional logistics and planning. In this section, we’ll cover these additional details.
Length and difficulty level
This 16-mile route is challenging, especially if you are attempting it as a single-day adventure. On average, it takes hikers 12 hours to complete, though it can take upwards of 14 hours.
If you’re hiking it as an overnight, you’ll hike between 9-11 miles the first day, and 7-5 miles the second day—the exact mileage will be dependent on your campsite location.
Trailhead access and transportation
The trailhead for this route is located outside the park at Chamberlain’s Ranch. In theory, you could drive to the trailhead yourself (if you have a way to get back to your car after your hike), but the best option is to hire a shuttle.
Here are the two most common shuttle options:
Transportation to Chamberlain Ranch from Springdale takes about 1 hour and 45 minutes.
Additionally, you’ll need to consider the timing of the Zion Park Shuttle to make sure you can finish your hike before the last shuttle leaves.
In 2023, the last shuttle leaves the Temple of Sinawava at:
March 11-May 20: 7:15 pm
May 21-Sept 17: 8:15 pm
Sept 18-Nov. 4: 7:15 pm
Mile-by-mile itinerary
Miles 0-3: The first part of the hike consists of a dirt road walk from Chamberlian’s Ranch to Bulloch’s Cabin.
Miles 3-9: This section is where you’ll begin to hike in the river and descend into the Upper Narrows. Towards the end of this section, you’ll encounter Twelve Foot Falls, which you’ll navigate down on the left side. Be sure to turn around once you’re downriver to fully appreciate them!
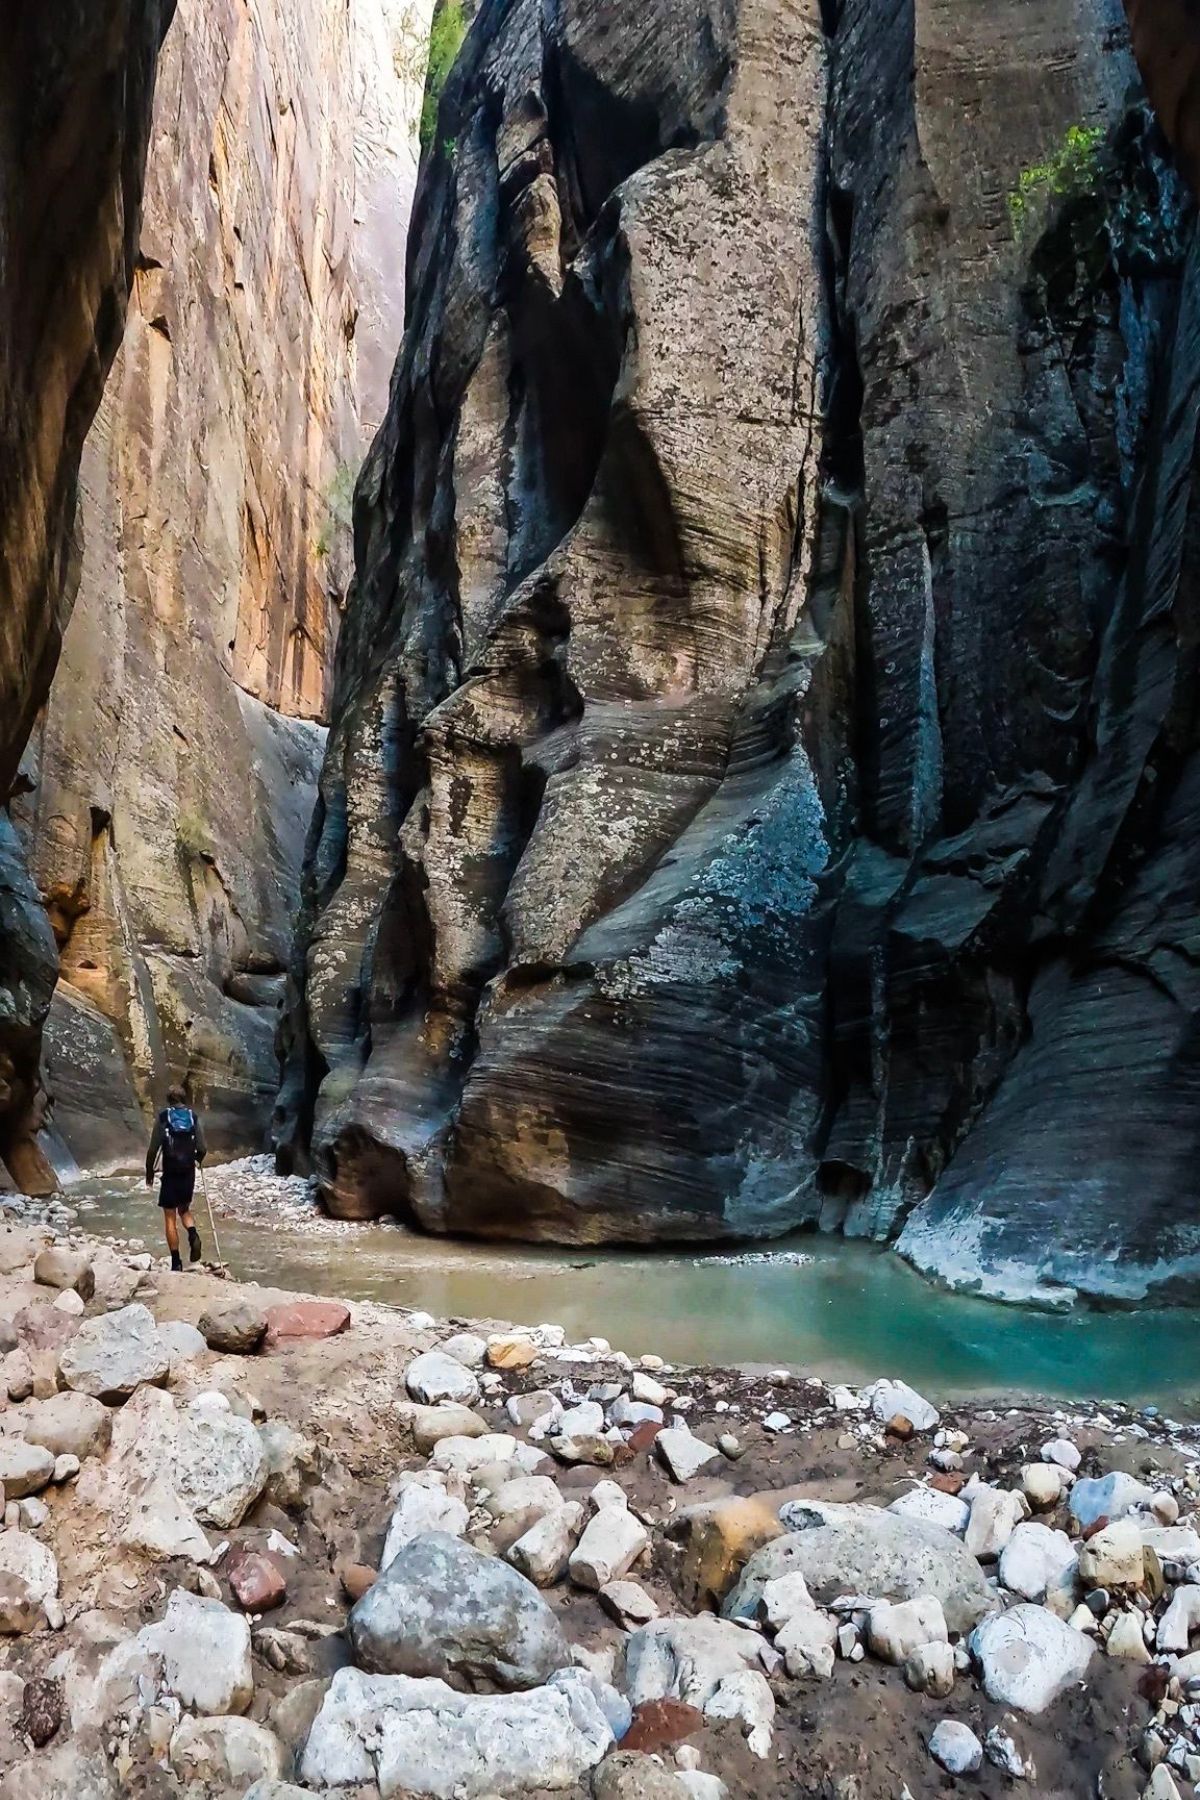
Miles 9-11: You’ll be treated to towering walls in this section, and if you’re camping, this is where you’ll start to keep an eye out for your designated campsite.
Mile 11 is where the top-down hike meets the bottom-up route. You can read more detailed descriptions about what to expect in the previous section of this post, but here is a quick summary:
Miles 11-12: Big Spring to Wall Street
Miles 12-13: Wall Street—the most famous part of the Narrows!
Miles 13-15: Wall Street ends and you’ll continue hiking through the lower Narrows
Miles 15-16: The paved Riverside walk beings, taking you to the end of the hike at the Temple of Sinawava
Camping
You’ll need to bring everything you need for camping if you spend the night in the canyon. Here is our complete backpacking checklist to help you determine what gear you need. Here are a few items we’d like to call out specifically:
- Water from the Virgin River can not be safely filtered to drink. There are some springs that may be suitable to filter water from, but you will want to speak with a ranger to verify where they are and if they are currently running. Otherwise, plan on bringing all the potable water you will need with you.
- Pack a small stove for cooking meals (or choose no-cook meals). There are no campfires allowed, but canister stoves are OK.
- Bring a second set of clothes to change into at the end of the day, and store them in a heavy-duty zip lock or a dry bag. If your hiking clothes get wet during the day (and they probably will), you will want to have dry stuff to change into and sleep in.
- Bring a set of camp shoes or sandals. These will be very welcome if your shoes are soaked from the hike!
- It will be cold in the canyon at night, even in summer. Bring appropriate layers and a warm sleeping bag.
- See the rest of the backpacking essentials here.
What to do when you’ve gotta go
On a full day or overnight hike, you’ll likely need to use the restroom, if not several times! When hiking the Narrows, the park requests that you pee directly in the river (this is different than how you’d handle pee on most hikes).
If you need to poop, you will use a waste kit (like this or this) and pack everything out with you—please do not dig catholes or poop in the river.
Safety tips
The Narrows is a completely different type of trail than the other hikes in Zion, so you should be aware of these safety considerations:
River walking & foot placement: Imagine trying to walk through rushing water. Now, imagine walking through rushing water on top of a bunch of slippery bowling balls. That’s what the Narrows hike can feel like!
It’s important to wear proper footwear (no sandals!) to avoid smashing your toes and to give you good grip and stability on the rocks. A walking stick will also help you maintain balance.
We found that facing upriver and side-stepping in a zig-zag pattern was helpful in hiking upriver when there was no dry trail.
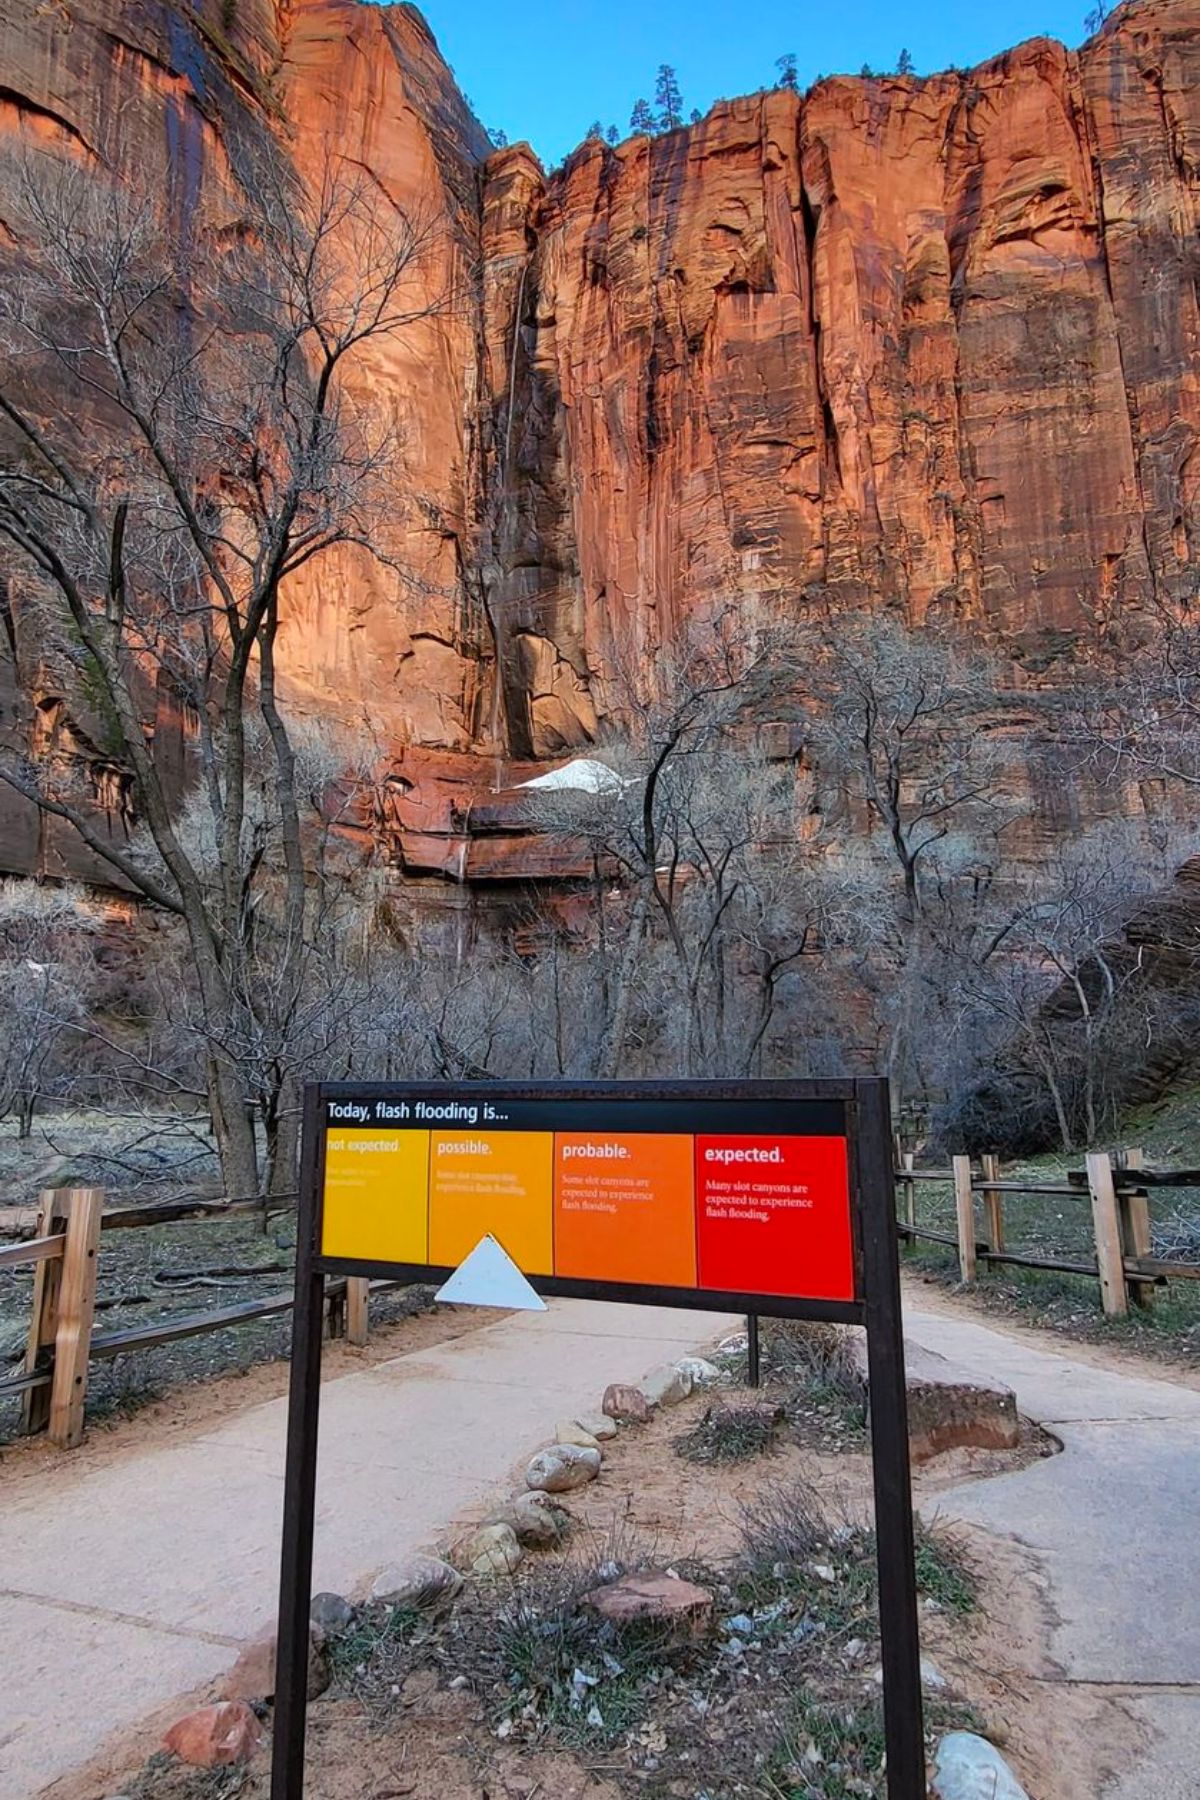
Flash floods: There is a potential danger of flash flooding in the Narrows canyon. Be sure to check the National Weather Service flood forecast before your hike, and do not hike if there’s a risk of flooding. There is little high ground in the canyon and people have died in flash floods here.
This is a great resource by the Park Service to help familiarize yourself with what to look for and what to do if flooding occurs.
Water quality & Cyanobacteria: Recently, cyanobacteria have been found in the Virgin River within the Narrows. These produce deadly toxins, so you must avoid swimming, submerging your head, and getting water in your mouth.
According to the park service: “There is no known recreational water filtration method that is effective at removing cyanotoxins. If you must filter water for drinking… filter and disinfect it directly from a spring.”
Check for the current advisory level at the Wilderness Desk in the Visitor’s Center. The Narrows will be closed if the bacteria levels rise to a “Danger” Advisory.
Hypothermia: The temperature in the canyon will be lower than it is in Springdale, and the water is cold, even in summer. This combination means that there is a real risk of developing hypothermia, especially if the water is deep.
Bring layers (pack them in a waterproof bag), rent dry pants or a dry suit if the conditions warrant it, and be aware of the signs of hypothermia.
Heat Exhaustion: The heat can be relentless during the summers in Zion, even within the Narrows. Make sure you’re drinking adequate water to avoid dehydration and heat exhaustion. If you start to experience signs of heat exhaustion (nausea, fatigue, headaches, stomach cramps, clammy skin), find a shady spot to rest and drink some water.
If you have additional questions about hiking the Narrows, visit the Zion Visitor’s Center before your hike or call them at 435-772-3256. The park rangers there are super knowledgeable and can answer questions about the trail and give you up-to-date water and weather conditions.
This guide was originally posted in June 2016, and updated in 2023 with more information.