
We’ve been asked to do an article about this a few times now. Each time Doug and I try to think about what the basics are for an RV we go all blue screen of death on the subject.
Ok, maybe if you’re under 28 you don’t know what that is; we go blank. We can’t think of what the fundamentals are quickly. That’s not to say that we don’t know what we’re doing, we just do everything like second nature now that we don’t think about it.
But guess what, that doesn’t stop us from making mistakes sometimes too, like hooking the water up to the wrong port. And really, it wasn’t all that long ago that being an RV owner was new to us too! So I took some time to really outline the primary things to know about How To RV in this RV Newbie Beginners Guide.
Let’s get really basic and then work our way up a little…
What is an RV?
I told you I was going really basic at first. An RV is an abbreviation for Recreational Vehicle. There are 6 different types, 3 of which you drive the actual RV, the other 3 you tow.
Let’s start with the drivable classes, the Class A looks like a charter bus. The Class B is a van style. Class C looks like a mini school bus with a mom’s attic (the small section that hangs over the cab like a shelf.) On to the towable RV’s, a travel trailer is a bumper pulled trailer.
A Fifth Wheel is connected by a special hitch inside the bed of a pick-up truck. And last is a Toy Hauler – now, I have to be honest, I don’t personally think that the Toy Hauler should be in it’s own class because you can have a Toy Hauler that you drive, one as a bumper pull Travel Trailer, or a Toy Hauler as a Fifth Wheel.
However, with a Toy Hauler, the rear of the trailer flips down to form a ramp, and you can drive your “toys” right on in.
All 6 of these styles come in varying lengths, layouts, and weight classes. You will need to decide what works best for you.
Doug and I started off with a small Class A style camper, but now that we are living in ours full time, we opted for the space a Fifth Wheel with a mini Toy Hauler provides. Below is a link to a quick walk through video of our current RV.
What You Need to Know
For this article I want to focus on bringing your RV to a campground, RV Park, or Resort. When I think of who needs information on RV Basics, I don’t think about someone who is planning to do a ton of dispersed camping, I think of someone who plans to take their RV to a campground where you will have hook-ups for your electric, water, and sewer connections.

So we are going to concentrate on the basics needed for heading into a campground. In truth, your RV can do a lot and go more places than just a campground designed for RV’s. But that’s a bit more complicated than BASIC describes.
Know Your RV
When you first buy your RV it’s exciting, and all you want to do it go online, or pick up the phone and book your first vacation. But there are some thing you’re going to want to make sure you know, before jumping in with both feet.
Know the length of your RV. You will need to know the height AND the length of your camper. Both of these are important. Some campsites are designed for smaller RV’s, you don’t want to pull into a campground and assume that you will fit.
You need to know your length, and don’t just assume that your model number is a direct correlation. For example, our Class A was model number 30.4. It was not 30 feet long. It was actually 31.5 feet long. Even now, our the model number on our 5th wheel is 381TH.
We aren’t 38 feet long, we are actually 42. If you bought a new RV off the lot, pull out your specs sheet and get the correct length. If you bought a used one, grab the good old tape measure and measure it!

The height of your camper is just as important. If the largest vehicle you’ve ever driven is a pick-up truck, chances are you’ve never had to pay attention to the height restriction signs when driving down the road.
How ridiculous are you going to feel when you go down a local road with a low bridge and plow into it with the top of your camper. Between the damage, the fine, and potential for some serious injuries, this isn’t something to be taken lightly.
It isn’t just bridges that you need to worry about either. You need to pay attention to low wires and branches as well. At our old house, the electric wires were a little low. We never even really thought about them until we came home with our 5th wheel.
Suddenly those wires looked like I could reach up and touch them! They weren’t really lower, but with the height of the camper, they seemed a lot closer to than they used too.
You also need to know what the weight of your camper is. You need to know how much it weighs empty, and you need to know how much weight you can safely add to the camper. Both of these numbers can be located on your specs sheet if you bought it new.
However, if you bought your camper used, you will have to go online and get the correct information for your specific RV. If you are planning to buy a towable camper, you need to know what the tow capacity is of your vehicle. You don’t want to purchase a 35 foot travel trailer that weighs 8,000 pounds and expect that your RAV4 is going to tow it.
One more sign on the road to be aware of, the weight restrictions of roads. Probably never used to look at those before. But now that you are either driving, or towing, a house on wheels, it’s something you are going to need to be mindful of.
Practice
Yup. You read that right. Practice. In most states, there is no special license required to drive an RV. It doesn’t matter if it’s a drivable charter bus style Class A or a huge tractor trailer style 5th wheel. The general rule of thumb is that if the vehicle weighs less than 26,000 pounds, no special license is needed if you are driving it for personal use.
That means, you need to practice!! Just like when you initially got your permit, you need to practice driving. Making a turn in an RV is much different that making one in your Camry. It doesn’t matter if it’s a drivable RV or a towable, making a turn is not the same!
Our recommendation is to find yourself an empty parking lot and practice with your RV. We also recommend doing this early in the morning before a lot of other people are out on the road with you.
You need to practice going forward just as much as you practice going backwards and making turns. Put cones out for yourself to navigate. Watch where all of the corners of your camper are so when you try to do these things on the road, you aren’t inadvertently causing an accident.
You aren’t just practicing driving here. You also want to practice hooking up and disconnecting your RV from your tow vehicle or hooking and disconnecting your car from your camper. Practice all of it.
If you plan to travel with someone else (friend, partner, spouse) it’s important that you both practice the driving. It’s also important that you both practice being the spotter. It makes longer drive days more bearable if you can both take a turn.
It’s also important that in the case of an emergency, everyone eligible has the ability to drive if needed and is comfortable to do so. In our case, Doug does most of the driving, he has his CDL and is much more comfortable navigating the truck and camper than I am. But I can drive too.
Which means, Doug can also be a spotter. Pro Tip: Thanks to Bluetooth technology, we’ve learned that the spotter takes their phone and just calls the driver. Like this, the driver can answer with the Bluetooth on speaker and isn’t worried about holding a phone or walkie talkie, and no one is screaming at the campground to “STOP” or “GO LEFT.”
Remember, you aren’t always going to see the spotter in your mirrors. That’s why they’re out there. You may not see the tree directly behind you in your mirrors either. So Practice. Practice. And more Practice.
Getting Into Your Site
You bought your RV. You’ve practiced driving it. You’re a pro at connecting and disconnecting. Now you’re ready to head to the campground! But what do you do when you get there? Well, you are going to start by checking in and finding out where your campsite is. It’s important to remember that not all campgrounds will have a Pull-In site for you. You need to be prepared to have to Back-In to a site as well. It’s ok though, you practiced this! Right now, you’re going to do everything that you’ve been working on.
This next step is a little different depending on whether you are in a drivable RV or a towable. If you are in a drivable RV, you are going to want to disconnect your toad (your vehicle that is being ‘towed’ by your camper) prior to getting your RV into your site. If you have towed your RV…. Obviously you need to get the camper into the site before disconnecting.
Not all campgrounds are perfectly level, so if you are leaning to the right, you are going to want to get some wood or leveling blocks under your right side tires to get you a little closer to level. Once you think the RV is relatively close to level, you want to chock your wheels. It doesn’t matter if you are in a drivable or a towable RV, chock your wheels! Now that you are close to level, your wheels are chocked, you can go ahead and disconnect from your vehicle.

Your RV is in the site, your vehicle is disconnected, and your wheels are chocked, you want to level your RV. This is important for your appliances, but also for your water flow. Each RV has different options, you may have an auto leveling system with electronic or hydraulic jacks, but you may have a manual jack set up. So for here, I’m just going to say… Level your RV.
Outside Set Up
How do you make all of the things inside work now? You have 3 main components that you need to focus on now. Electric. Water. Sewer. I know… No one likes to think about that last one. So let’s get it out of the way first.
Sewer
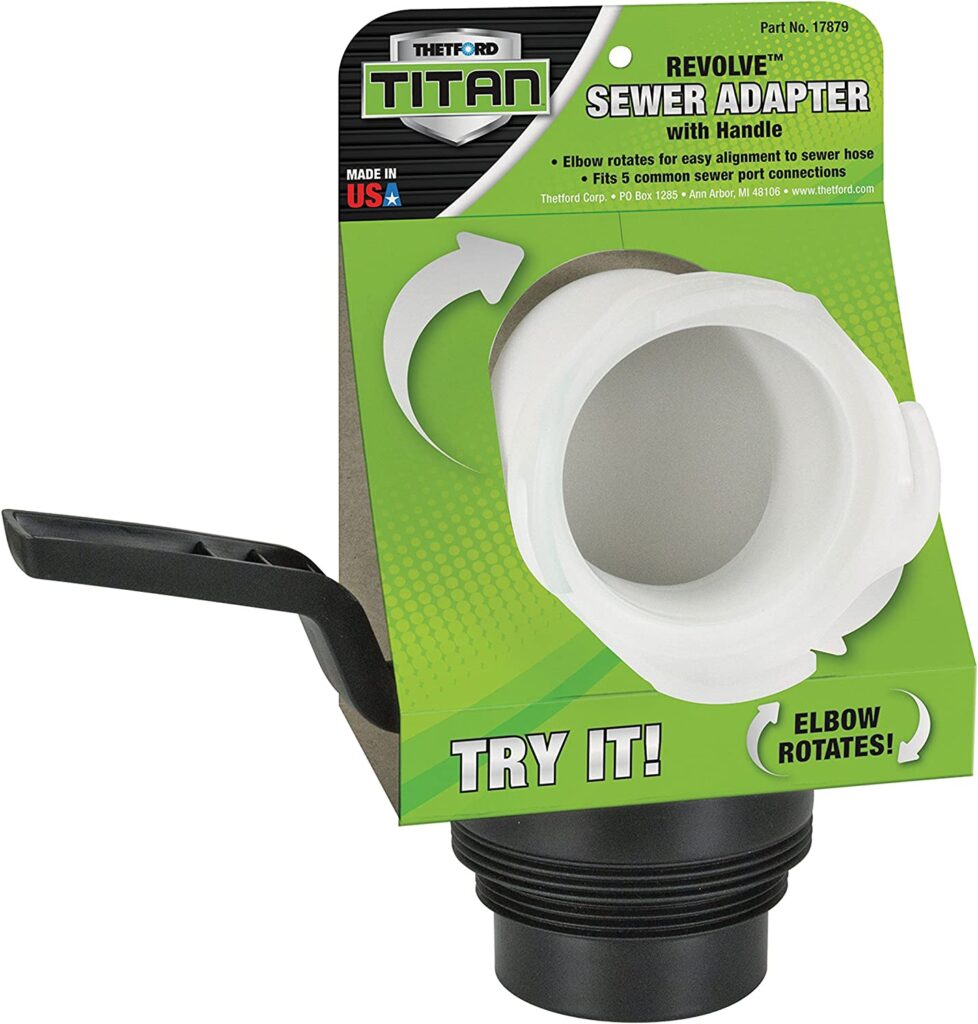
Not all campground sites will have a sewer connection. If they don’t have one at your site, they will likely have a dump station for customers to use when they exit. The way it works is the same though. If you have one at your site, you are going to pull out your sewer hose, open your sewer cap, and connect the hose to the camper. Make sure you do the quarter turn to lock it on there. Now take the other end and connect it to the sewer connection at the campground. Again, you want to make sure that this is completely connected. We like the adapter with the handle so we know we are locking in good.
Right now, there is no need for you to open either your gray or your black tank handles. All you are doing is connecting your hose. Depending on the how long you’re staying, you can probably leave it just like this until it’s time to leave.
Electric
There are 3 main options for your RV’s power. It could be a 20, 30, or 50 amp camper. You should know what you have when you buy your RV. When you hook up your electric you always want to start by plugging the one end into the camper first. Take the other end to the power pedestal. Make sure that the circuit breaker is in the OFF position, then plug it into the appropriate plug for your size camper. Once both ends are properly connected, then you can turn the circuit breaker on. Doing it in this order prevents corrosion on the male end of your power cord which in turn helps prevent camper fires.

Water
Make sure that your water valve on the camper is set to Normal Flow. This will make sure that the water from the hose is going directly to the lines in the camper that feed your sinks, shower, and toilet. If it’s set to Fill, it will fill your fresh water tank, which you don’t need right now. You are setting up at the campground and they provide water. We suggest having a water filter for your hose no matter where the campground you’re going to is. Even if the campground is right next door to your home, you don’t know the quality of the water that you’re getting. So connect your water filter to the City Water Connection in your RV, and then connect the hose to the other end of the filter. Take the other end of your hose over to the spigot and thread it on. Once you know that both ends have been tightened securely, turn the spigot on. We like to coil up the hose as best as possible and get as much of it under the camper out of the sun as we can. This prevents the water in the hose from heating up too bad during the day so it isn’t hot when you first turn on your sink in the RV.
Inside Set Up
Go over to your control panel and you can now turn on your Hot Water Heater. Most campers have a gas or electric option. When we are in a campground we use the electric since the cost of this is already included in the price of our site. If you have slides, you can now open them up!
Guess what? That’s it! You are set up and ready to enjoy yourself in your RV for a few days! You did it!
Breakdown Time
The least favorite part of any camper’s day is pulling out… But we all have to do it.
Inside
Start by making sure that you’ve gotten everything where it belongs for travel. Make sure there isn’t anything blocking any of your slides. Double check that all of the cabinets and drawers are closed all of the way. Get everything off of the counter so it isn’t falling off while you’re driving down the road. Lock your shower doors open, and lock your refrigerator. Go over to your control panel and shut your Hot Water Heater off.
We aren’t done in here, but we’re going to head outside before we finish up.
Outside
Pack up your stuff from outside the camper. Get your folding table and carpet put away. Put your camping chairs where they belong. Make sure that you don’t see any of your things laying around the camper. The only things you should see are the 3 things we started off setting up… Your electric cord, your sewer hose, and your fresh water hose. Get everything else put away.
This is a good time to take a potty break. Make sure everyone goes to the bathroom. Once you disconnect your fresh water and your sewer hoses, the bathroom is off limits. There are ways around this, however, we are working with the basics here. So since you won’t have water connected to your camper, you can’t use the bathroom anymore.
Now that everyone has taken care of business, head over to your black and gray tank handles. You always want to start by draining your black tank. Get the really gross stuff out of the camper and down the sewer hose first. Once that is done draining, push the black handle back in and you can go ahead and pull your gray handle. By doing it in this order, you’re using the water that came out of your sink to clean out your sewer hose. Again, once that’s done draining, push that gray handle back in. You’re now ready to disconnect your sewer hose. Always start with the end connected to the camper. Hold this end up and walk the hose over to the sewer connection making sure that you completely drain the hose into the campground’s sewer connection as you go. Disconnect your sewer hose and put it away. If the site you are on doesn’t have a sewer connection, you will do all of the sewer steps over at the dump station prior to exiting the park. All of the steps are the same.

Time to disconnect the fresh water. Start by turning the spigot off, then disconnect the hose from the spigot and then disconnect from the camper. Just like the sewer hose, you are going to want to get any excess water out of the hose before you put it away.
Back Inside We Go
I told you we weren’t done in here. Everything in here should be ready to go. You’ve already made sure everything’s away and that your slides are clear from anything blocking them and you’ve already turned your hot water heater off. The only thing left to do in here is to run your slides in. Do them one at a time and make sure they are in all the way. We like to do this after the sewer and water are disconnected just in case someone forgot something inside. This is like the home stretch. Once this is done, you only have one more thing to do outside before hooking up and leaving. So by leaving the slides out until we’re ready to go, we avoid having to open them back up when I leave the truck keys on the bed.
Back Outside
Put your stairs up. Some campers have automatic ones that will close when you close the door, other campers have stairs that you will have to manually put up and then close the door behind them. Lock your door. And now go over to the power pedestal and turn the circuit breaker off. Pull your power cord out of the pedestal and then disconnect it from your camper. Put this away and then walk around the camper locking all of your exterior cabinets.
Drivable Camper – remove your wheel chocks. Hop back in your camper and pull off of any leveling blocks you may have put down. Put that stuff where it belongs and pull out of your site enough to get your toad reconnected to your RV.
Towable Camper – reconnect your truck to the camper, then remove your wheel chocks. Pull off of any leveling blocks you put down and put the chocks and blocks away.
Both Drivable and Towable – Do a walk around. Check that all of your lights, including turn signals, are working properly. Check the tire pressure in all of your tires. If anything is amiss, you need to fix this before getting on the road.
Time to head home! But you did it. Those are the basics for setting up and breaking down your RV for a nice get away whenever you can.
Hopefully you found this helpful. As I stated earlier, your RV really can do so much more than just going to a campground. You can store fresh water so you don’t need to be connected to a spigot. You have house batteries on board that can store electricity for basic things inside. And as you just did at the campground, you don’t need the sewer connected for a few days before those tanks are full. But all of those things will need to be focused on in another article. Maybe RV Intermediate?