
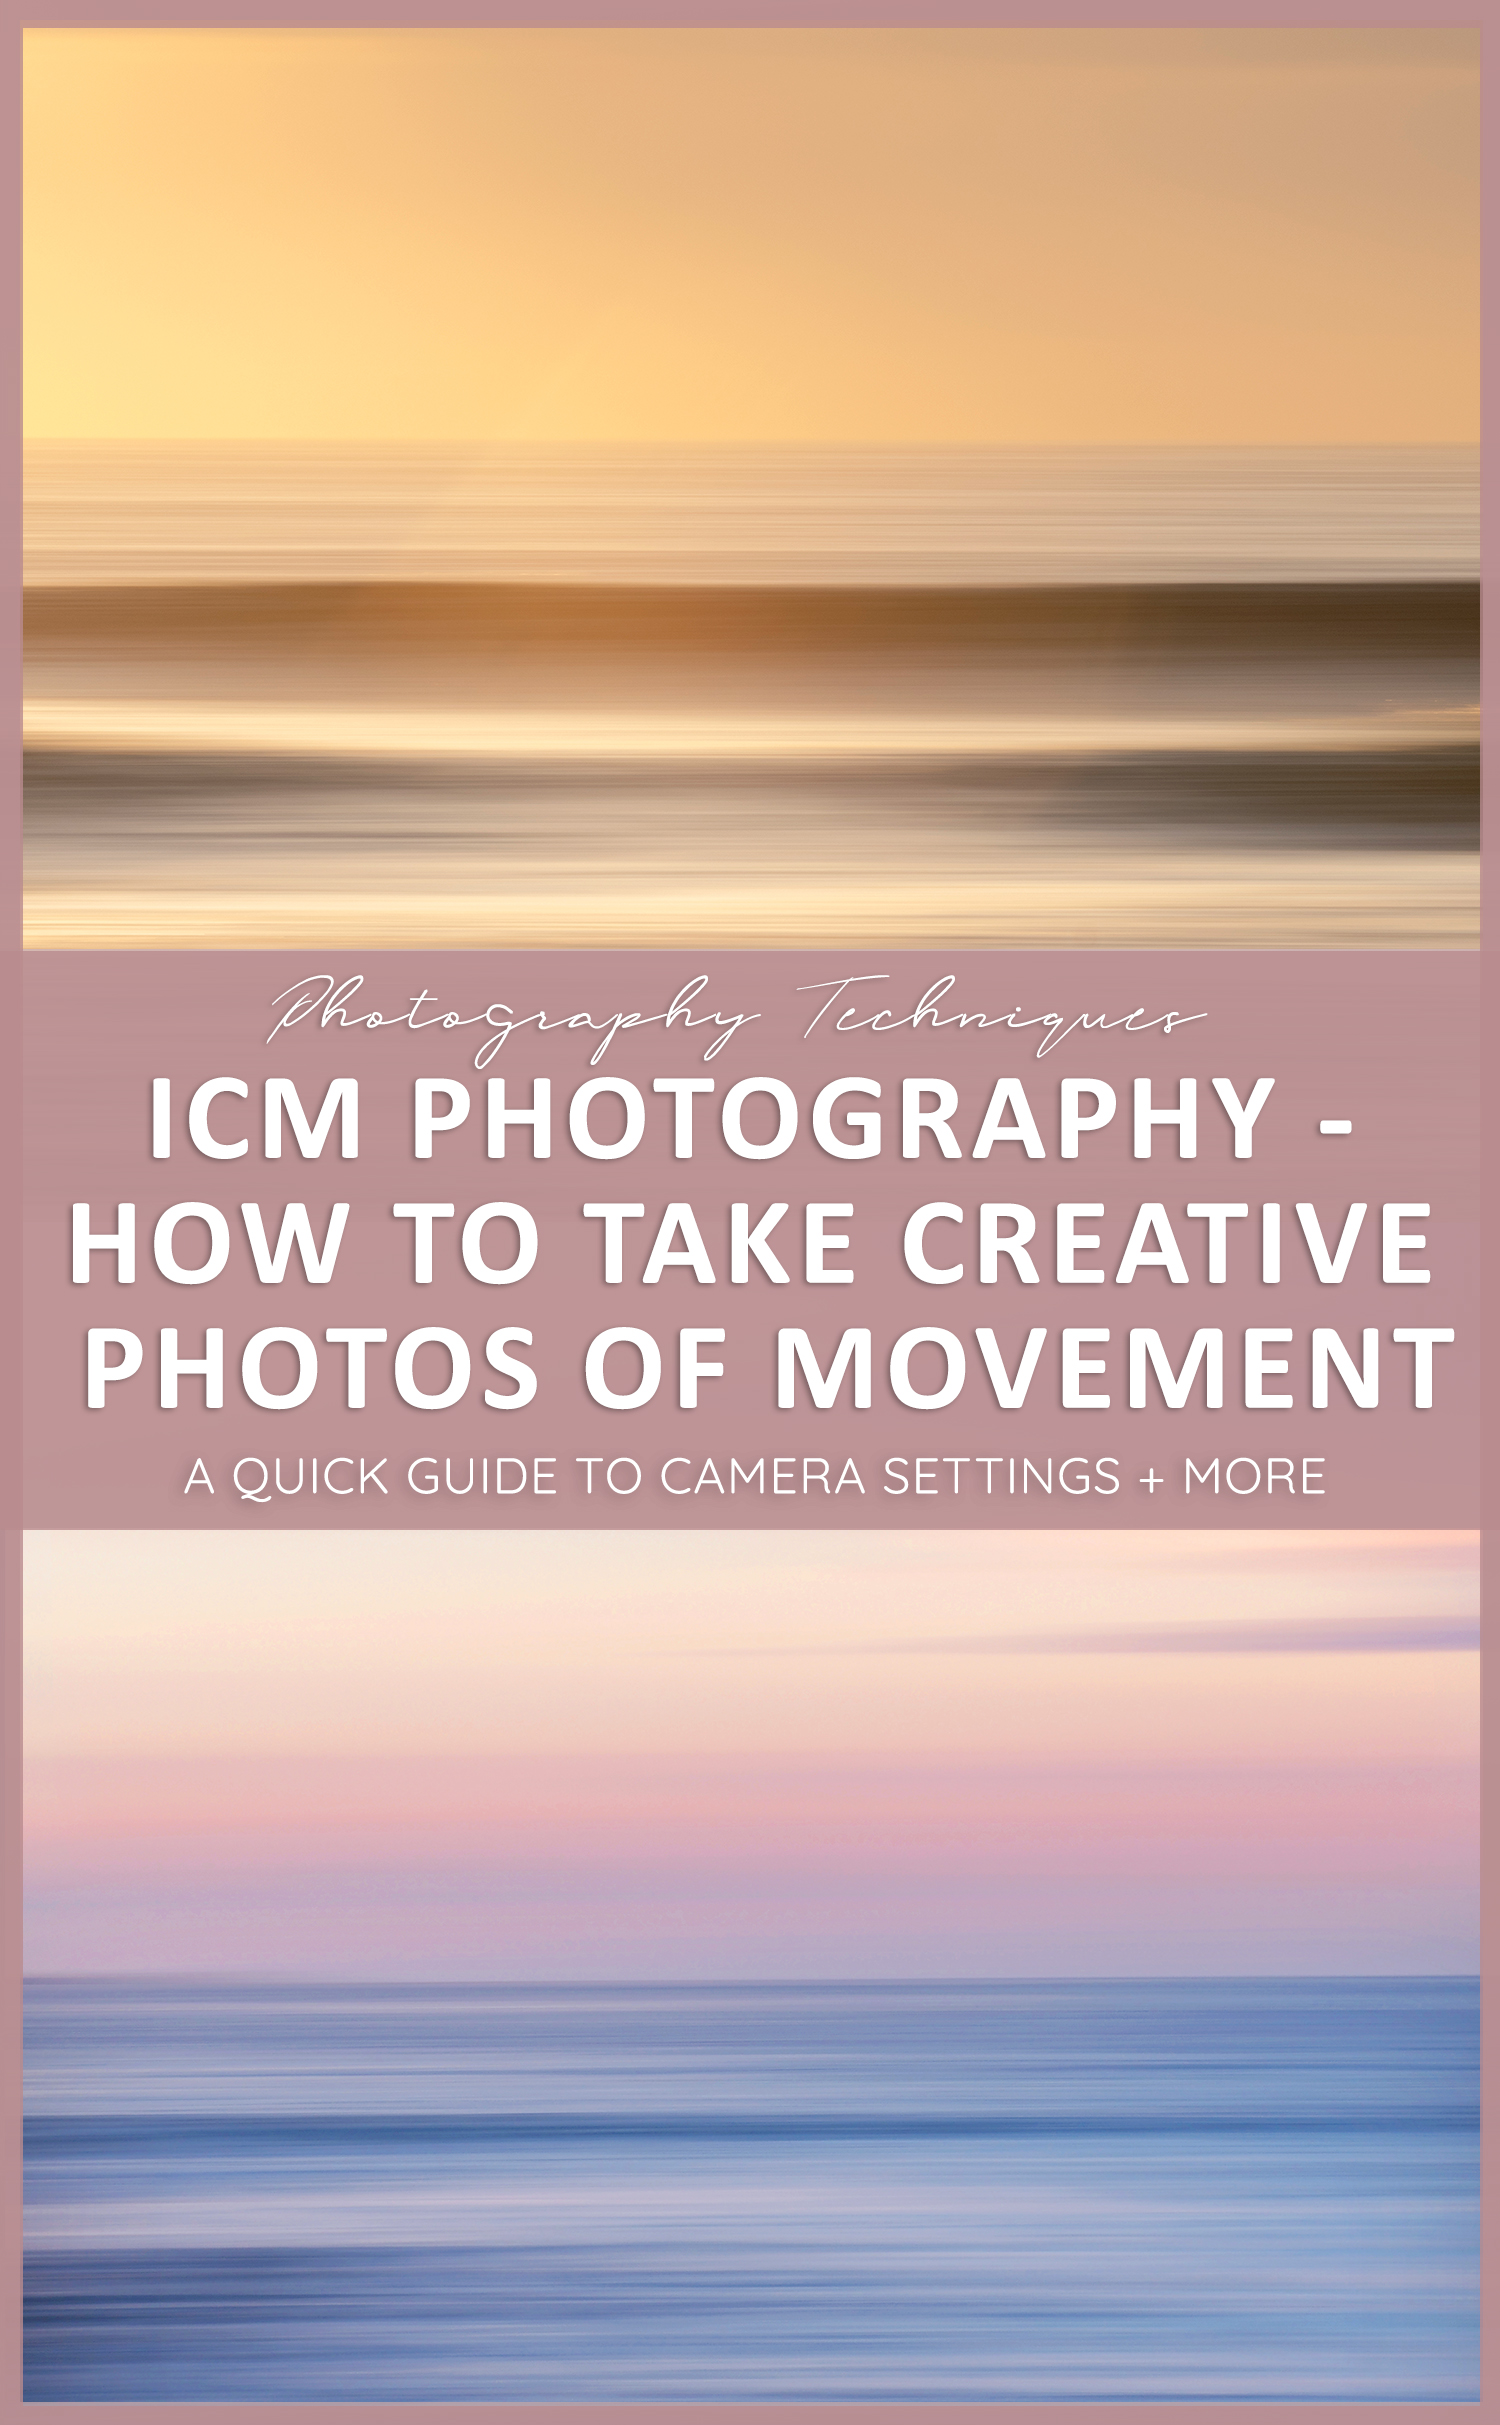
Intentional Camera Movement – ICM Photography:
Learn how to create beautiful blurred motion!
Blur in photography isn’t usually a good thing. We all want sharp, clear images with plenty of detail to showcase the subjects and scenes we’re photographing.
But.
What if the blur was intentional!? Sometimes it’s all about letting go of the rules and seeing what happens.
Panning is a creative technique that can sometimes be overshadowed by long exposures or traditional landscape compositions. The combination of working with movement, colour and light can really test your abilities as a photographer but once you’ve got the hang of it, you’ll find it’s a fun way to capture a scene and incorporate some blur of the good kind!
Rather than locking focus on an individual subject and panning to ensure it stays sharp while the surrounding area blurs, let’s take a look at panning to produce an entire image in motion. Photographing seascapes is a great way to test this technique so if possible, venture down to the beach or an open area to give it a go.
Below are some tips on settings, gear, light and composition then you’ll find a collection of sample shots with the settings noted.
Settings –
When creating these panned seascapes, you will need to adjust both the camera settings and speed of your movement to suit the conditions. To start out, I suggest a shutter speed of about 1/25 sec which will allow enough time for the waves to move through your image when paired with a fast movement from side to side. As you start capturing the images, you will begin to notice whether you need to speed things up or slow your shutter down to adjust to both the movement of the water and available light.
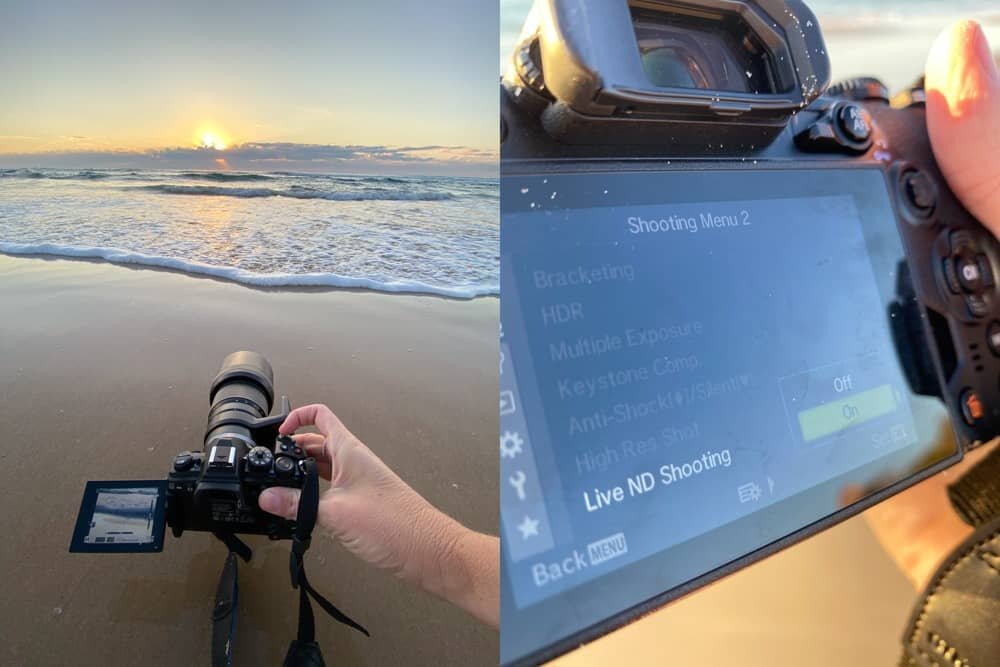
For dreamy blurred motion where the colours and water blend together, you will want a slower shutter speed. For pans that still show a little of the wave movement, and perhaps some lines of the waves structure, you’ll want a faster shutter speed. Those using the Live ND shooting feature on the Olympus E-M1X or E-M1 MKIII can opt for up to an ND32 to slow their shutter.
Read more: eBook ‘SETTINGS” Your Guide to Camera Settings for Landscape Photography
Camera Gear –
You can create these panning seascapes with almost any camera that allows you to adjust your shutter speed manually however because you are photographing at the beach there are a few things you’ll want to make sure you’ve got.
Firstly, due to the movement and stability required to capture these images, having a camera that provides the ability to work with you and keep your shots on an even keel is essential (if not using a tripod). The Olympus system and its industry leading stability is a great tool to have with you for these images!
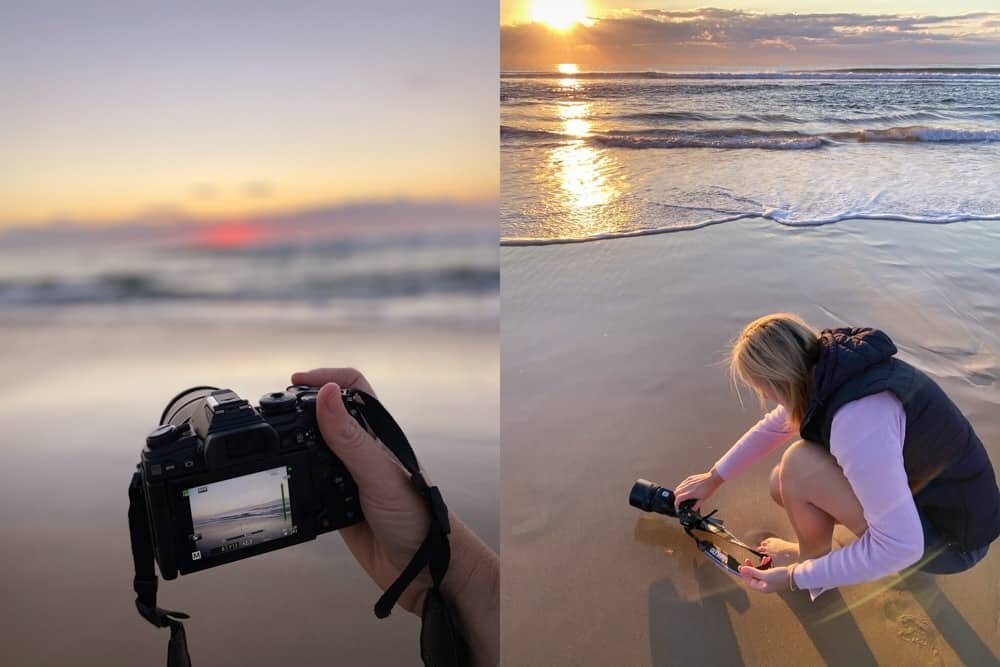
Second, shooting at the beach means sea spray, water and sand, three elements that can quickly ruin a camera not equipped with decent weather sealing. The images below were captured with the Olympus E-M1 MKIII which has a fully weather sealed body, allowing me to get nice and close to the water level and not worry about getting sand or spray in and around the buttons or lens.
Lastly, having a selection of lenses with you will allow you to get creative with your composition and push the boundaries of blending the tones of the ocean. Having both a wider angle lens for landscapes to incorporate the coastline, sand and sea is beneficial, I suggest the M.Zuiko 12-40mm f2.8.For shots that get a little closer to the horizon and blend the sea and sky, the 40-150mm f2.8 is really handy to have in your camera bag! I always find that once I put this lens on my camera I start to see so many new composition opportunities that weren’t visible with the wider lens. Zooming in to individual waves to capture their movement can become addictive very quickly and a really fun way to advance the technique of panning.
Light –
The beautiful warm light of golden hour is an ideal time to capture seascapes and panning images. With low light, you can produce gorgeous effects with layers of colours from deep ocean blues to shimmering sunny yellows.
Pre-sunrise you’ll be treated to darker colours on the water and warmer colours in the sky, then as the light progresses into the sky it’ll start illuminating those blues and getting brighter.
Depending on what colours you’re aiming to capture, it can be fun to spend a full day getting used to the technique by trying it at sunrise, in the middle of the day then again at sunset and dusk. The transition between the times of day will create a stunning collection of images with a variety of coastal hues. If you’re shooting with an Olympus E-M1X or E-M1 MIII you can take advantage of the incredible Live ND feature which allows you to photograph long exposures in the middle of the day without any need for additional filters. Combining the Live ND filter with the panning motion will create whimsical blurs and you’ll find the results visible at they’re happening on your screen.
Read more – Setting the Scene: How to Photograph Sunrise
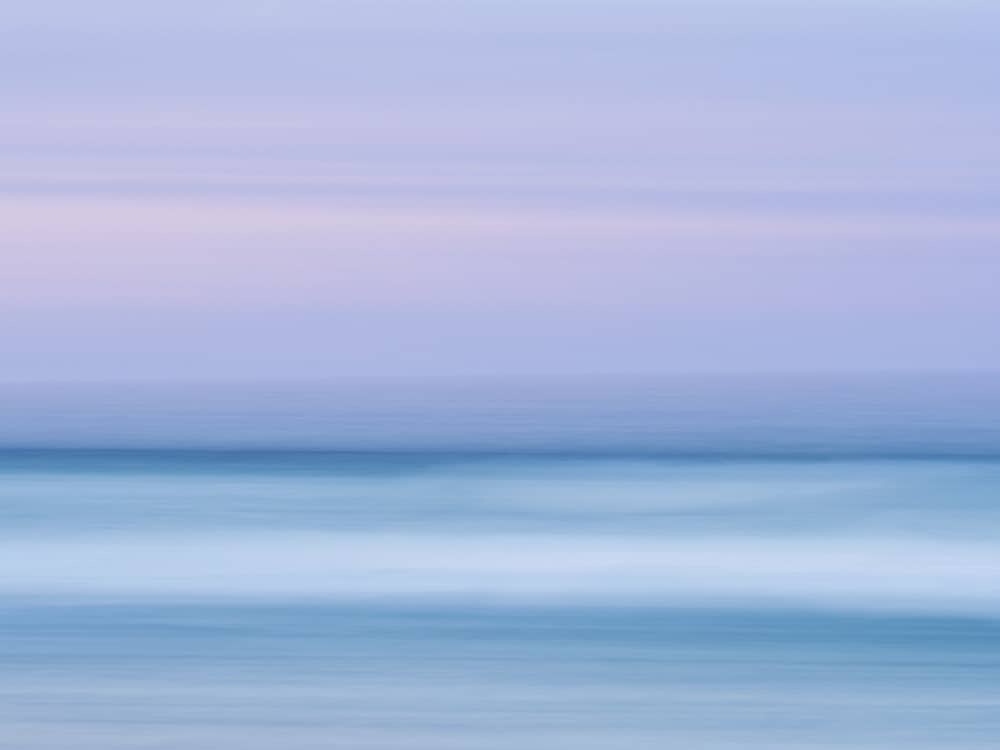
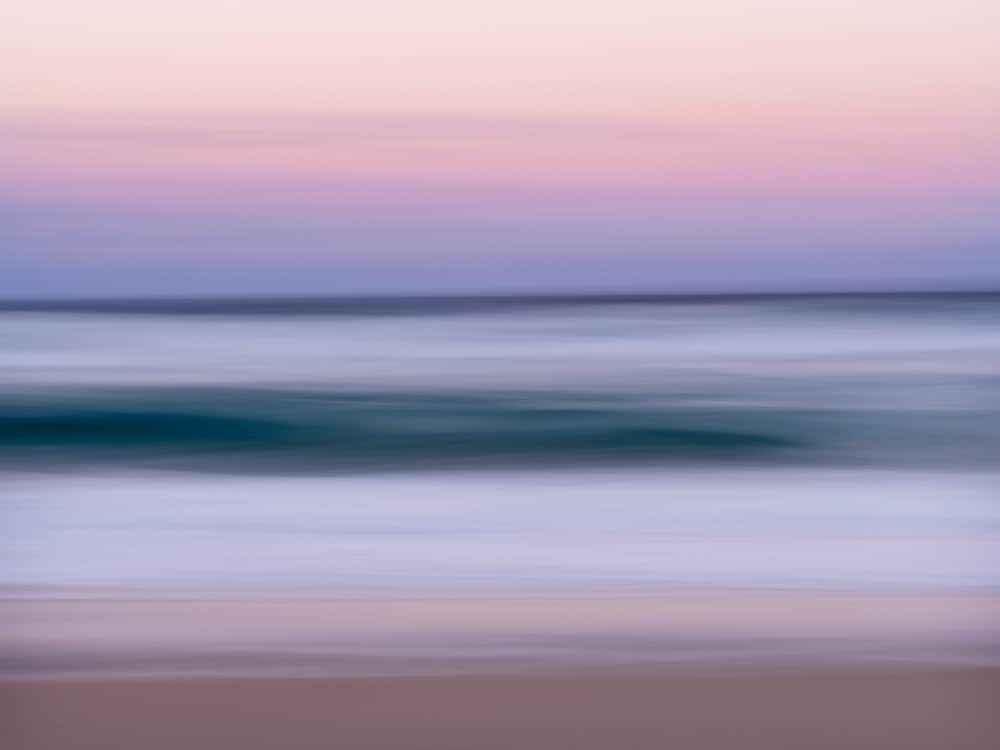
Settings: Olympus E-M1 MKIII + 40-150mm | f5.6 | 1sec | ISO 64
Movement –
To capture a clean panned image of movement at the beach, try to remain as rigid as possible while turning from side to side. You may need to use a tripod to ensure you don’t unknowingly move up or down however if you’re shooting with the Olympus system, the stability will have you covered.
When starting your pan, focus on an area of the water then quickly move from left to right, ensuring you keep your movement in line with the horizon. Any movement up or down will create unwanted blur. Sometimes it can turn out really mysterious and misty however those keen to capture clean, sharp lines of the sea will want to remain on an even trajectory.
See more examples of ICM Photography here.
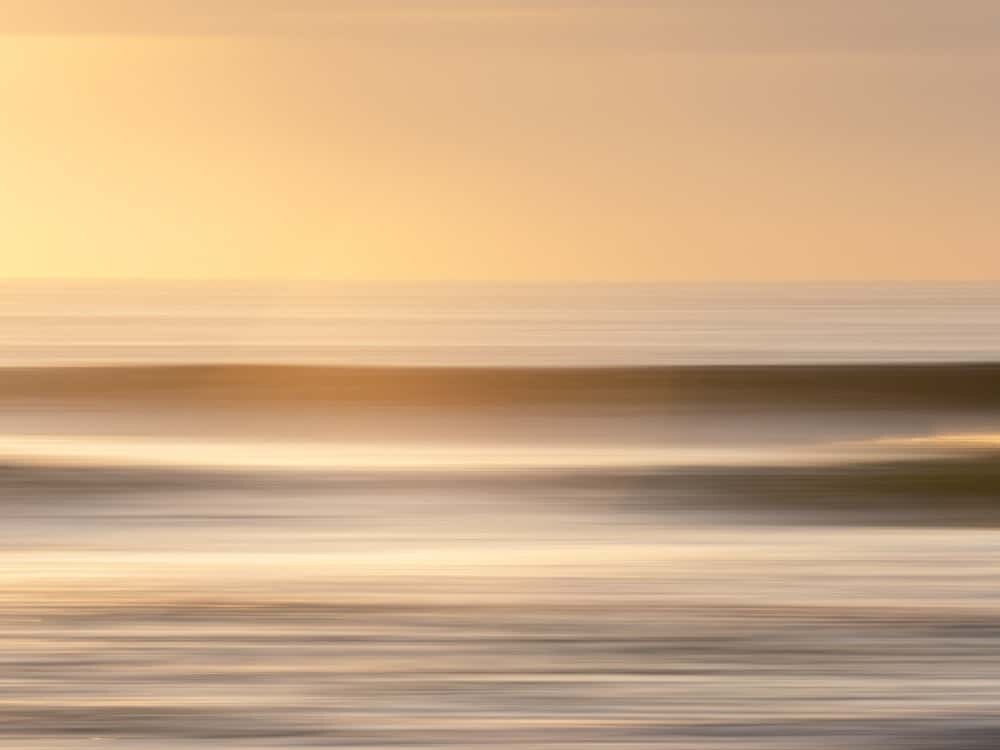
Settings: Olympus E-M1 MKIII + 40-150mm | f/18 | 1/25sec | ISO 100
Composition Tips –
When photographing coastal scenes, you will no doubt be working with the horizon so it’s important to keep the horizon straight and compose around it. Panning side to side using the horizon as your guide, you can compose both portrait and landscape orientated images and work with the moving waves and water to create a unique image.
Before taking an image, watch as the waves crash to establish a pattern so you can click the shutter at the right moment. You may find waves are breaking in a particular spot every few seconds so if you’re keen to capture some movement of the whitewash, get ready for this to occur and compose accordingly.
If you’re hoping for a clean, colourful image with only blues, wait until there is a lull in the wave activity before panning. Alternatively, use a lens like the 40-150mm f2.8 to zoom above the shoreline and avoid any breaking waves. Where the sea meets the sky is a great place to blend the blues together in a pan.
Little announcement: ‘The Creative Photography Course’ will be starting soon. You can find all the details and course information here if you’re keen to improve your creative vision, work towards developing a portfolio and generating a career or side income with your photography.
Read more – Creative Techniques to Try With Your Camera
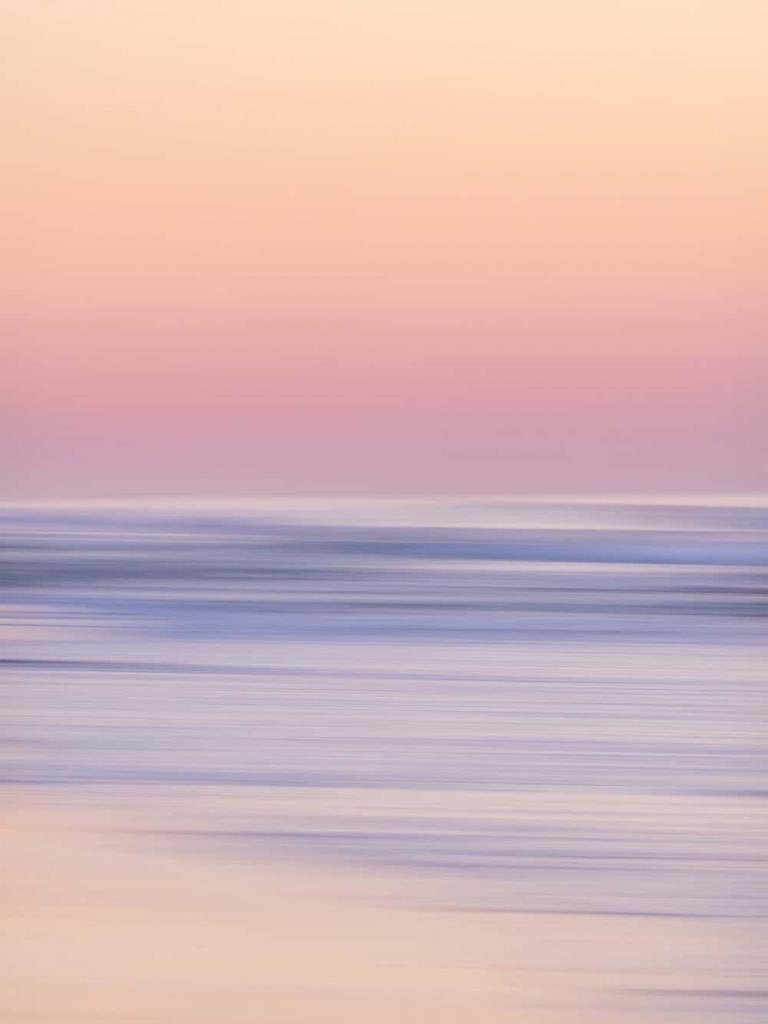
Settings: Olympus E-M1 MKIII + 40-150mm | f/16 | 1/20sec | ISO 200
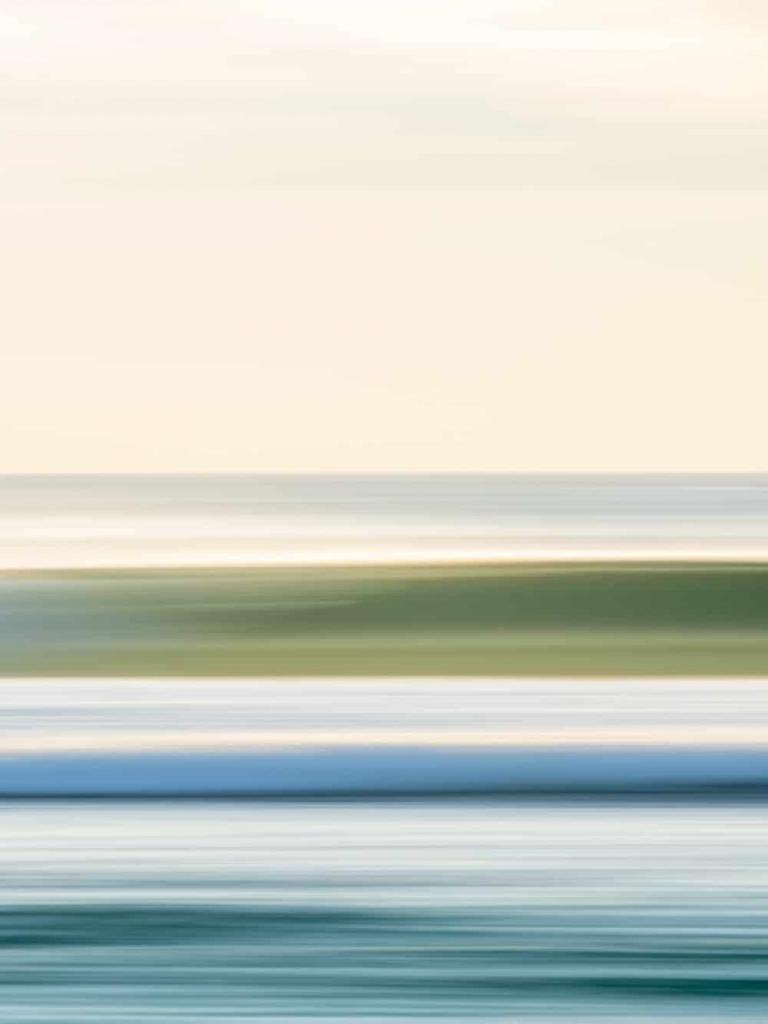
Settings: Olympus E-M1 MKIII + 40-150mm | f/14 | 1/25sec | ISO 100
Hello! I’m the founder and photographer behind The Wandering Lens.
With 17+yrs experience as a professional travel and landscape photographer, all advice found on this site is from my personal experience on the road. I hope it’s useful for your own travels and would love to hear in the comments about your trips and experiences around the world.