
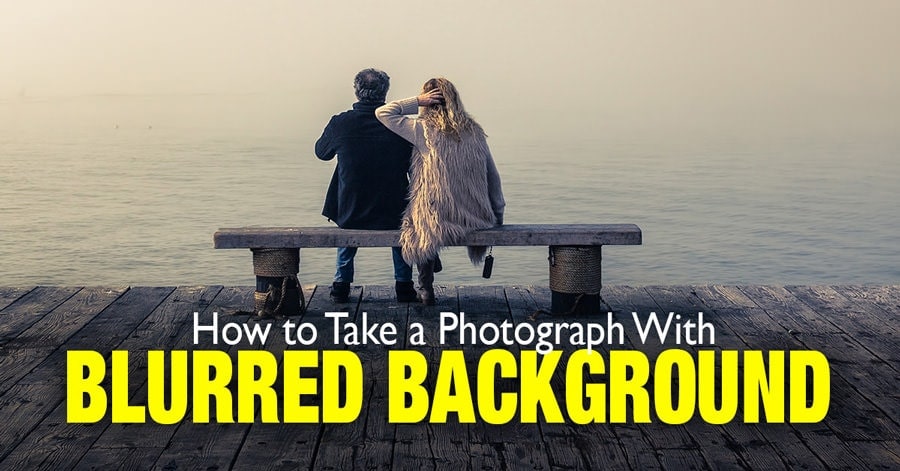
If you want to know how to take photos with blurred background, you’ve come to the right place.
People who are just starting in photography often ask me how they can blur the background in their photos. Many are aware of this effect, possibly having seen it in photos in magazines or on the internet, but don’t know how to achieve it with their own camera.
The good news is that almost all cameras can blur the background, one way or another.
Here I’ll present the basic photography idea of blurring the background as well as a few ways you can achieve it yourselves.
Why would I blur the background?
The general purpose of blurring the background is to create a visual separation between the subject of your composition and the background.
The blurry background allows you to “discard” or rather “mute” anything else that would ruin your composition by creating clutter and distracting the viewer’s attention.
It is most often used in portrait photography. It is also applied in wildlife, sports or macro photography.
Blurred means out of focus
By blurry background, we mean an area in your photograph that appears out of focus.
The “amount of blurriness” is something closely related to the concept of Depth of Field (DOF) in photography.
Depth of field (DOF) is the distance between the closest and the farthest objects in your image that are acceptably sharp. Everything in your image that is beyond the depth of field will appear blurred.
OK, enough theory. Let’s see how you can blur your background right now.

How to Take Photos with Blurred Background – Step by Step
Let’s imagine you want to take a portrait of someone. You want your subject to appear sharp with a nicely blurred background behind him. What can you do?
Here is the 4-step process to achieving it:
01. Use aperture priority mode
If your camera allows it (and most cameras do), switch to aperture priority shooting mode, labeled as A or Av.
In this mode, you will be selecting your aperture only. Your camera will take care of the appropriate shutter speeds. This way you will be able to use an aperture value (f-stop) of your choice which you can’t do in program mode.
02. Choose the widest possible aperture
Your camera has a button, a dial or an aperture ring on the lens that controls the aperture. Use it to select the widest possible aperture your lens allows for. It can be f/1.4, f/1.8, f/2.8 or f/4, depending on what lens you have.
Related: How to Know What Aperture to Use
03. Use a longer focal length
Every lens has a particular focal length. Some have a fixed one (prime lenses) and others support a whole range (zoom lenses). By focal length, we mean the capability of a lens to zoom the object.
As a rule, longer focal lengths allow for a greater blurring of the background (shallow depth of field).
Think of anything that’s longer than 50mm. An 85mm lens is a classical portrait lens that will beautifully blur your background. And the more millimeters you add, the greater the blur effect.
Related: How to Keep Digital Noise in Check in Your Photos
If you have a zoom lens, rotate it all the way to the longest focal length.
For example, if you use a 18-55mm kit lens, the 55mm focal length has the best potential to create a blurred effect.
04. Get closer to your subject
Another aspect that affects background blur is the distance to your subject.
The shorter the shooting distance, the shallower the depth of field (and so the blurrier your background). Plus, the further the background from your subject, the higher level of blurriness you can achieve.
For example, if you place your subject against a wall, it is almost impossible to achieve a blurred effect. However, if you have a city panorama across the river behind your subject, it will be much easier to create a blurred effect.
Now focus on your subject (it’s best to focus on his eyes) by pressing the shutter button halfway. Finally, when you hear the sound that confirms autofocus lock, press the button all the way down. If all is well, your background will appear soft and blurry.
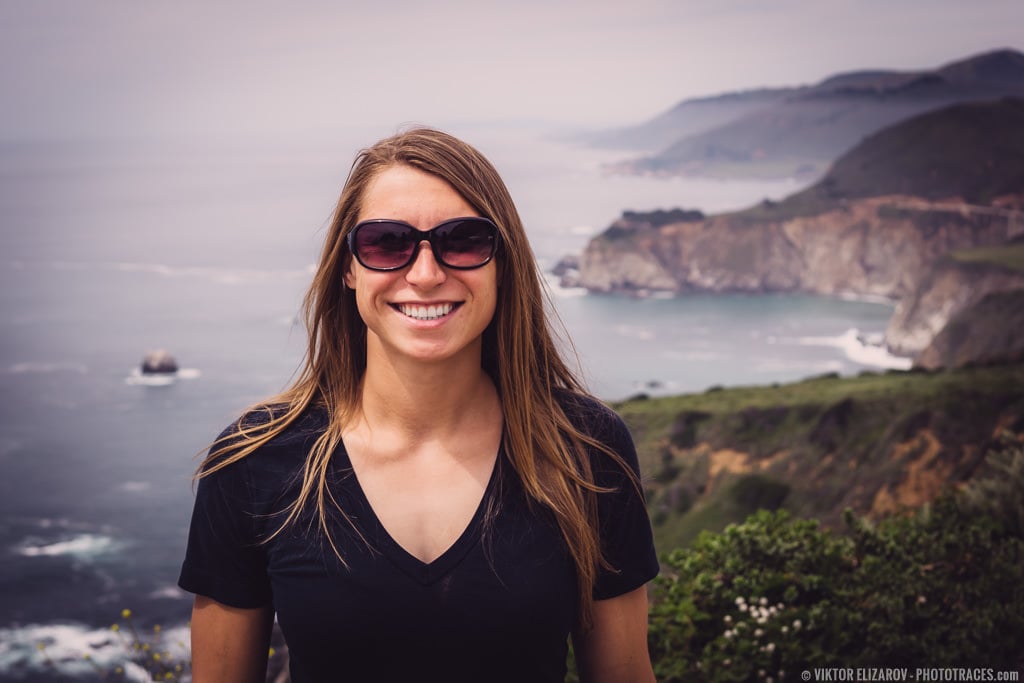
If you to analyze the photo above, you can see that I used all 4 steps I outlined earlier.
I used aperture priority mode, I chose the widest aperture of f/1.4. The shooting distance was about 2 meters and the background was extremely far behind the model.
Rounding things up
The amount of blurriness is affected by 3 main parameters:
- Aperture value. The wider the aperture, the more blur you get.
- Focal length. The longer the focal length, the higher level of blurriness you will achieve.
- Distance to the subject. A shorter distance to your subject results in more blur.
In order to achieve a strong out-of-focus (blurred) effect, you need to address all of the parameters in a single photograph.
Is the topic still… blurry?
Did the article help you understand how you can blur your background? Or do you still have any questions? Let me know in the comments below.