
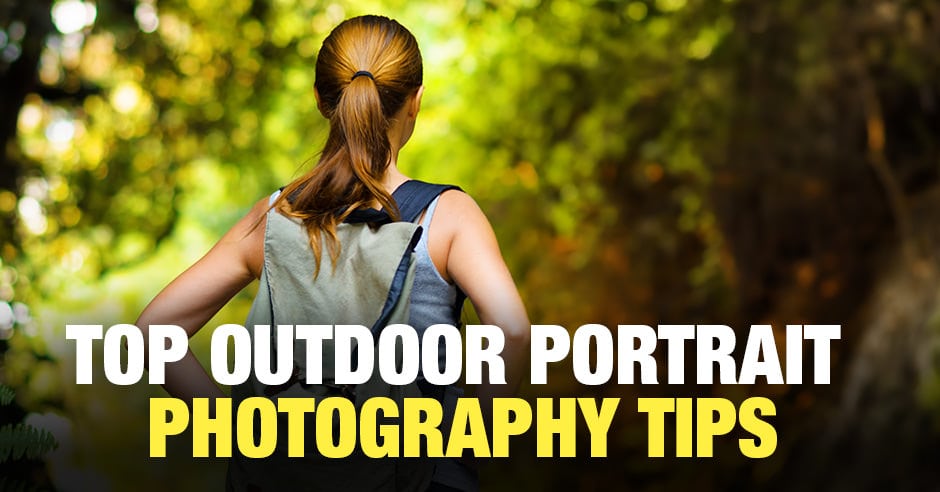
Are you about to travel with family (and/or friends) and want to capture some awesome outdoor portrait photography along the way?
The problem is, you may not have enough luggage for all your photography gear! How are you going to take amazing portraits without all 72 of your lenses, no strobes, and all your other gear?
Well, you’re going to find out with today’s 7 easy to follow outdoor portrait photography tips for travelers.
Outdoor Portrait Photography Tips
1. Which Lenses Should You Pack When You Travel?
When traveling you don’t always have room for all of your lenses. At least my wife won’t let me. In that case, you may want to consider bringing a zoom lens or two. Let’s take a look at two lenses that are perfect for outdoor portrait photography.
A wide-angle zoom, like a Nikon 12-24, is great for landscape photos and I use it all the time when I travel. However, it’s not ideal for portraits since it will end up distorting your subject’s faces (and bodies).
Instead, you should consider packing a mid-range zoom (24-70) and a long telephoto zoom lens (70-200). Both are perfect lengths for portrait photography.
Related: How to Choose a Camera Lens: A Quick Guide
The mid-range zoom will allow you to capture more of the background, landmark, etc.., and it will be better for group portraits too.
A long zoom lens can be used for cropping in tight on your subject and to help blur out a busy background… like tourists.

2. Aperture Priority Mode
All great photographers shoot 100% in manual mode. Not! I’ve been a photographer for 30 years and when I travel I switch to one of the 3 auto modes. Even for outdoor portrait photography!
So, when you travel, ditch manual mode and put your camera on auto mode. The two I use the most are aperture priority mode and shutter speed priority mode.
Let’s cover aperture priority first and then we’ll cover shutter speed in the next tip.
When traveling you may not always have the time (or desire) to manually figure out the correct ISO, aperture and shutter speeds. In that case, switch over to aperture priority mode if you want the creative effects this camera setting provides. Then, your camera will auto-select the correct ISO and shutter speed to capture the proper exposure.
Related: Aperture Priority in Photography – Beginners Guide
The creative options that the aperture gives you are the ability to blur out the background and/or foreground based on your creative vision. This is helpful in situations when the background is too busy for a decent portrait. By using a large aperture of let’s say f/2.8 will allow you to blur out the background.
Plus, aperture also allows you to control how much light travels through your lens into your camera. If you’re in a low light situation you can adjust the aperture to allow more light in. For example, a setting of f/2.8 will allow more light to enter vs. f/22. This may help eliminate the need for a tripod. Which I don’t always take with me when traveling.
See also: Portrait vs Landscape – 5 Main Differences
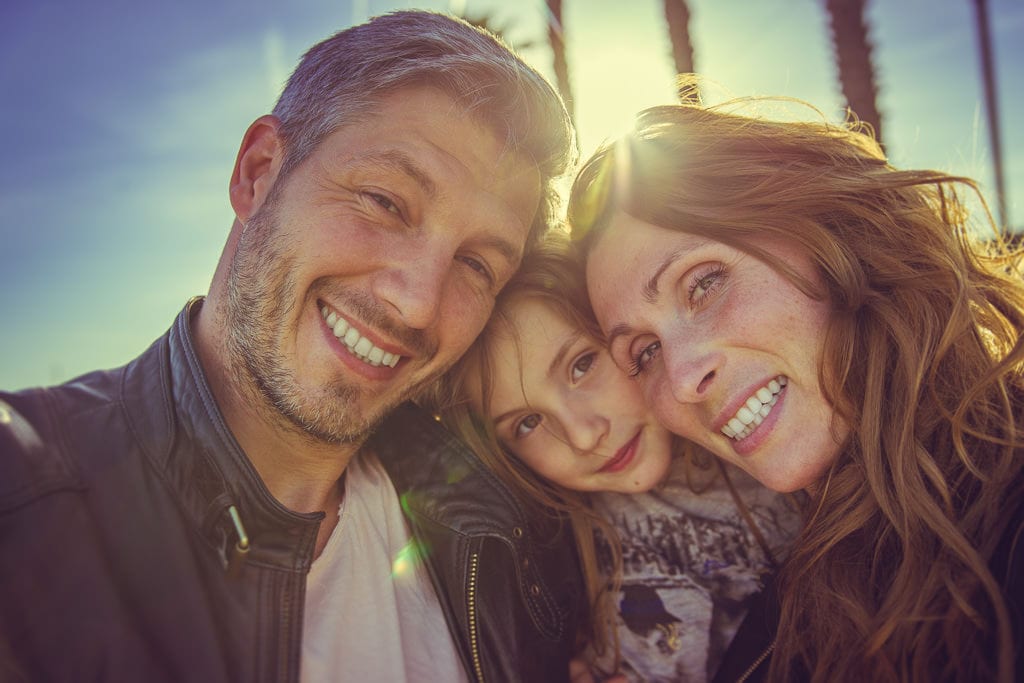
Caption: Portraits during sunset can be difficult to capture. Especially when you don’t have room to pack a tripod. This can be overcome by using a large aperture. This photo was created with an aperture of f/1.8.
3. Shutter Speed Priority Mode
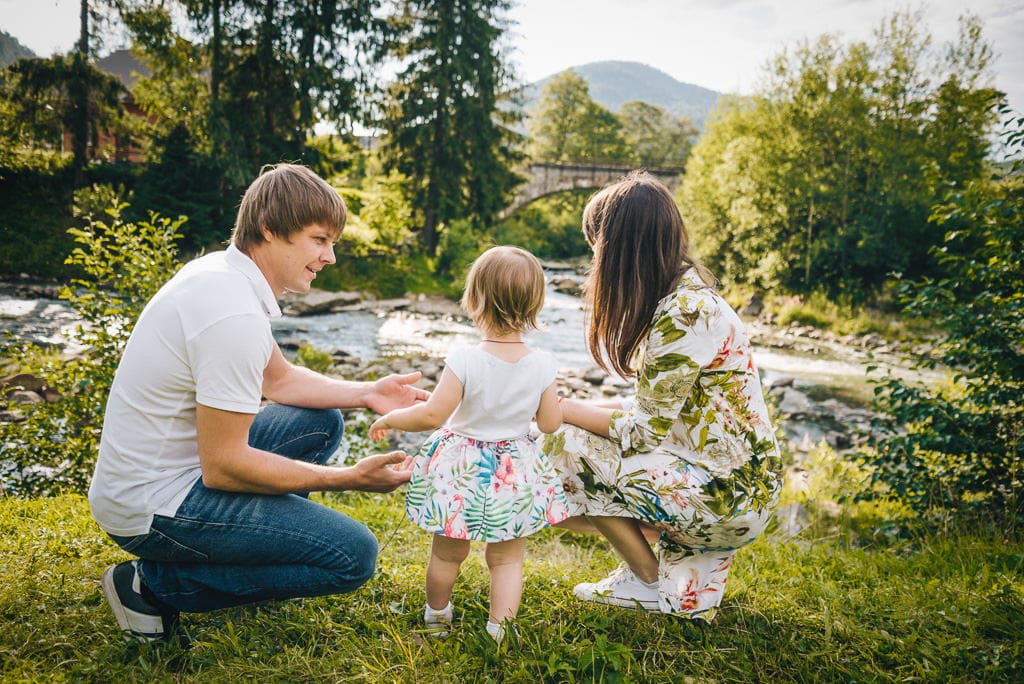
Choosing your shutter speed can be an essential decision even for portrait photography. Maybe your subject doesn’t like to sit still. Like, you’re 4-year-old daughter or son. Or maybe you want to shoot a non-traditional style portrait and wish to include movement in your photos.
Fast shutter speed can freeze the action. Slow shutter speed will create a motion blur.
When you’re making a creative decision that involves movement set your camera to shutter speed priority. Just like with our previous portrait photography tip your camera will auto-select the other two camera settings… for proper exposure.
Depending on how fast your subject is will help you narrow down the shutter speed needed to freeze the action. It also depends on the available light too. But, with shutter speed priority you only need to worry about, well, the shutter speed.
Related: Shutter Speed Chart as a Photographer’s Cheat Sheet
For outdoor portrait photography, you could use a shutter speed from 1/250th of a second or faster to freeze the action.

Taking portraits of kids is challenging. Especially when traveling. They don’t always want to sit still. Let them run. It will round out your portraits to include photos that represent who they are. Oh, and use slow shutter speed to create a motion blur.

4. ISO
ISO is an often overlooked camera setting when it comes to portrait photography. But, if you get it wrong you may end up with a lower quality image.
If you set it too high you’ll end up with the dreaded digital noise that occurs at these elevated settings (like ISO 1600 and above). If you set it too low, in a low light situation, you may need a tripod to avoid camera shake.
See also: How to Soften Skin in Lightroom
So, what ISO setting should you use for your outdoor portraits? Well, that depends on the available light.
If it’s a bright sunny day, set your ISO as low as possible. Like, around 100 – 200. If you’re shooting a portrait during sunset you may need at least ISO 800 or more. It will also depend on your aperture and shutter speed settings.
If your new to portrait photography then you may want to consider setting your camera to auto ISO. If the feature is available on your camera auto ISO allows you to set the maximum ISO setting your comfortable with. Then, your camera will auto-select the correct settings for aperture and shutter speed for the exposure.
Related: ISO in Photography Explained
My recommendation is to set the ISO as low as possible for your travel photography portraits.
5. Polarizing Filters
Although polarizing filters are often used for landscape photography they can also be used for portrait photography. When traveling we often need to maximize our luggage space (per my wife… Tammy) and pack just the essentials.
The great thing about filters, in general, is they don’t take up a lot of space. In fact, I leave a polarizing filter on all my lenses when traveling.
Related: Long Exposure Effect Without Any Filters
A polarizing filter will enhance the contrast and colors of your portraits. That being said you have to be careful because sometimes they will have a negative effect on skin tones. Oh, and they will also cut down 1-2 stops of light. Therefore, they may not work well in low-light situations.
6. Light
Light. It is the one thing that can make or break a portrait.
It’s also one of the things that’s hard to control when traveling. Once, I tried to pack a strobe or two, with some light stands (of course), 2 external flashes and a 48in reflector. Tammy was having none of that.
Related: Understanding Light in Photography
What to do? When shooting on a bright sunny day you have two options.
- If possible, shoot your portraits with the sun behind your kids, spouse, or whomever.
- Or, better yet, if possible put the person your photographing in the shade.
Either option will help avoid what is known as raccoon eyes. You know, the dark circles in/under the eyes that’s caused when shooting under direct sunlight.
7. Composition
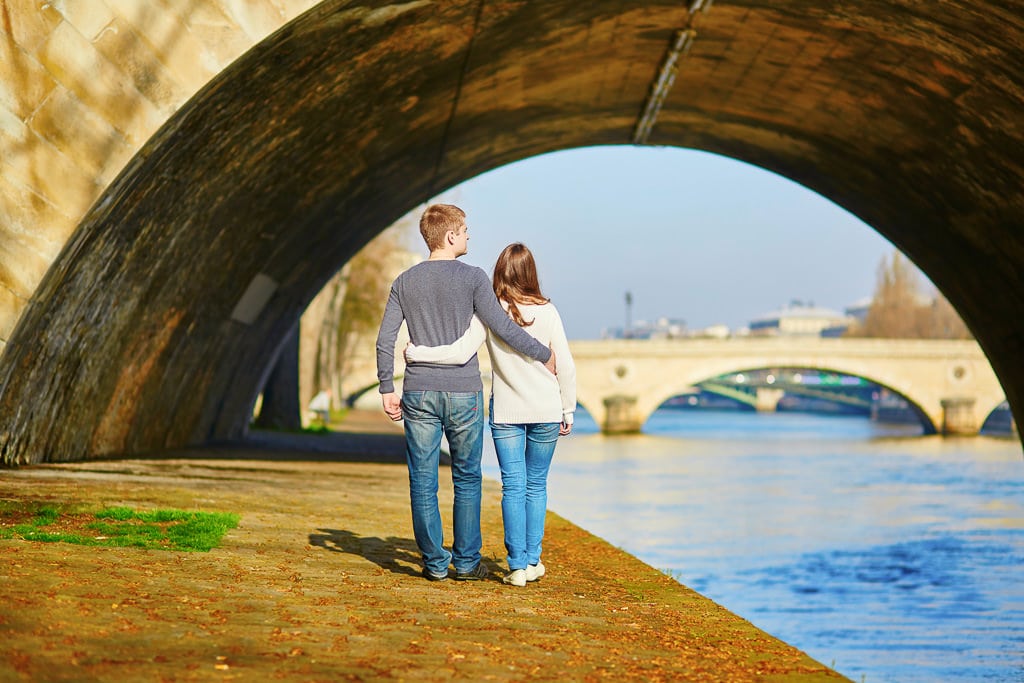
There’s nothing like capturing a portrait of your kids next to a historical landmark. It’s a memory you’ll cherish for a lifetime.
But, you may want to use your composition skills to wow your family and friends. When shooting a portrait around a historical building, like the Eiffel Tower or the Coliseums in Rome, position your subject in the archway of the structure. This composition technique is known as the “framing”.
Related: Composition in Photography In Simple Terms
In essence, your subject is “framed” by the archway which leads your viewer directly to the subject first. It’s a much stronger composition vs. just placing them directly in front of the landmark.
Final Thoughts
Traveling with family and friends can be a fun and rewarding experience. It’s also a great time to capture some portraits you’ll cherish for a lifetime. Make sure to pack your travel bag according to your destination and any limits imposed by your significant other.
With these actionable tips, you won’t need to pack as much and will still get some awesome portraits. And if you want to learn how to edit portraits in lightroom check my workflow here: Lightroom Portrait Editing.
What to Read Next: