
In today’s tutorial, I demonstrate my editing workflow for cleaning landscape images using the Lightroom Spot Removal tool
When I return from a photography trip, I import all the new photos to my master catalog in Lightroom and begin my editing workflow with the culling process. First, I go through all my new photos in the catalog and select the ones I am ready to delete—those that are out of focus, accidental, or have bad composition.

After I weed out all the bad photos, I go through the rest of the photos once more with the intention of selecting only the good ones, the photos worth editing. You can find a detailed outline of this process in my Lightroom Organization tutorial.
After I finish the culling process and before I start with Lightroom Rapid Editing, I always perform one very important step—I check to see if any of the photos need cleaning.
When shooting landscapes and especially seascapes, we, as photographers, are exposed to a variety of weather conditions and, sometimes, to even extreme conditions. The general rule of landscape photography is that bad weather equals more photo opportunities. It also means that the risk of environmental particles ruining our photos is much higher.
Two of any photographer’s biggest enemies are dust and dirt that often accumulate on the front element of the lens. Raindrops, water, dust, snow, and sand can also prevent us from taking clean photos.

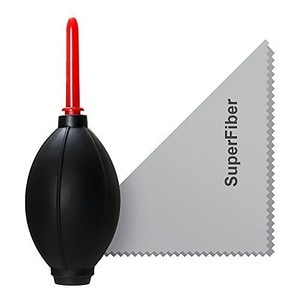
In every camera bag, I have a few pieces of lens cloth and lens wipes so I can clean my lenses throughout the day as necessary. I have even gotten into the habit of always glancing at the front of the lens before taking a shot to make sure it does not need cleaning.

The second issue photographers face is the dust that accumulates on the surface of the sensor when we change the lens. To make sure the sensor of my camera is clean, I use an air blower to clean the sensor every evening after a shoot.
But, even when I perform all my cleaning routines throughout the day, it is not uncommon for me to still have environmental particles that get in the way during my trips.
Luckily, Lightroom has a tool designed specifically to address this issue.
It is called the Lightroom Spot Removal tool.
For me, it is always a two-step process. First, I use the Lightroom Spot Removal tool to check if the image needs any cleaning. If the image is clean, I move into Lightroom Rapid Editing but, if the image is not, I use the Spot Removal tool to clean up the photo.
Here is the outline of my cleaning workflow.
Lightroom Spot Removal Tool: Case Study
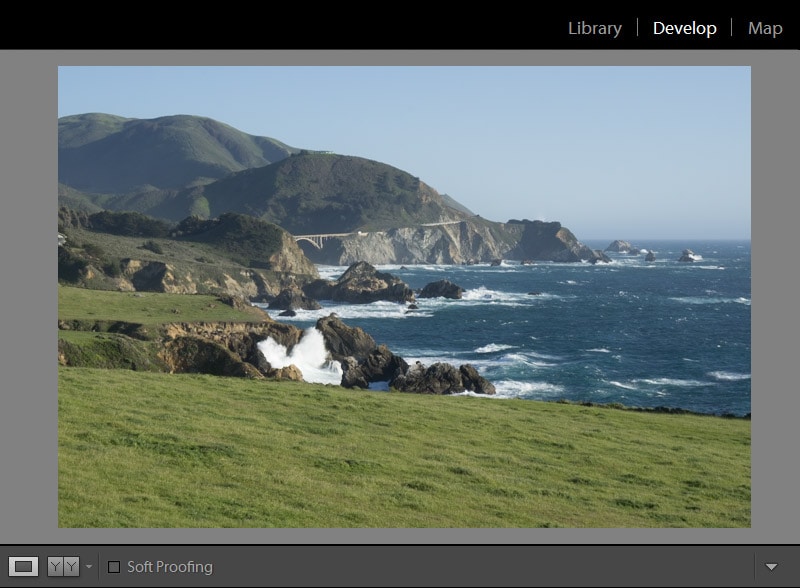
For today’s demonstration, I selected the photo I took during my Big Sur coastal drive in California.

After I went through eh culling process and selected the featured photo for editing, I jumped to DEVELOP module of Lightroom and selected the Spot Removal Tool.
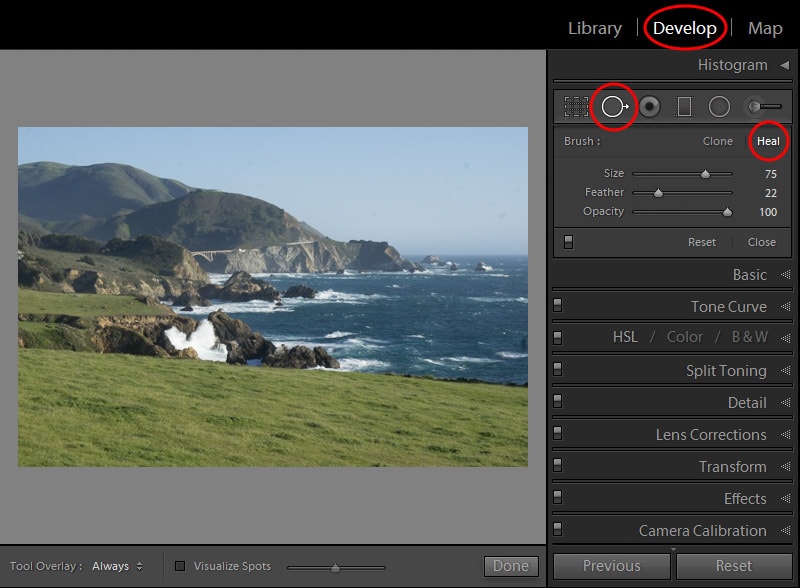
For the editing mode, I selected HEAL option. You can experiment with the CLONE option as well but for me, the HEAL works in 99% of cases.
The Clone option duplicates the sampled area of the image to the selected area.
The Heal option matches the texture, lighting, and shading of the sampled area to the selected area.
From Adobe website
I kept the Feather option at 22% and Opacity at 100%.
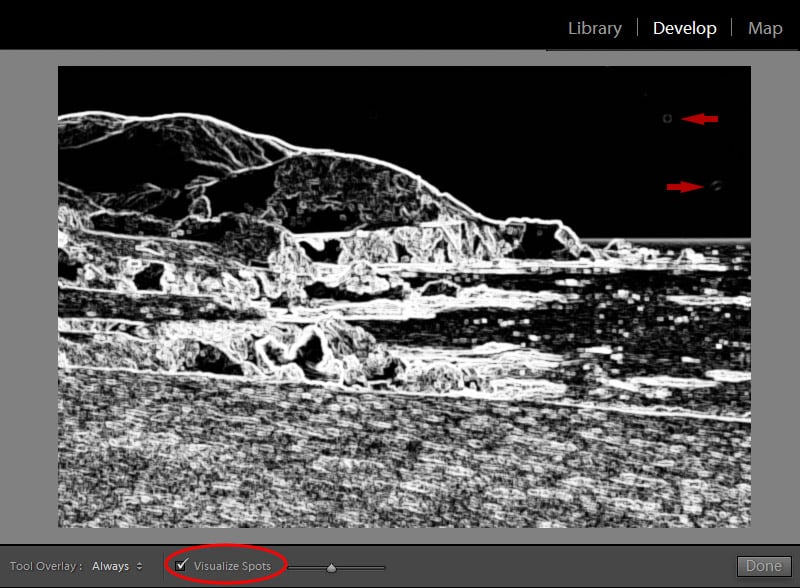
Next, I selected Visualize Spots checkbox.
The photo went into Greyscale Inverted mode. The mode helps us to visualize distractions and imperfections.
At that point, I could only see two small spots.
The problem with the imperfections caused by dirt on lenses and sensors is they become more prominent when you start applying contrast and color correction settings to the image.
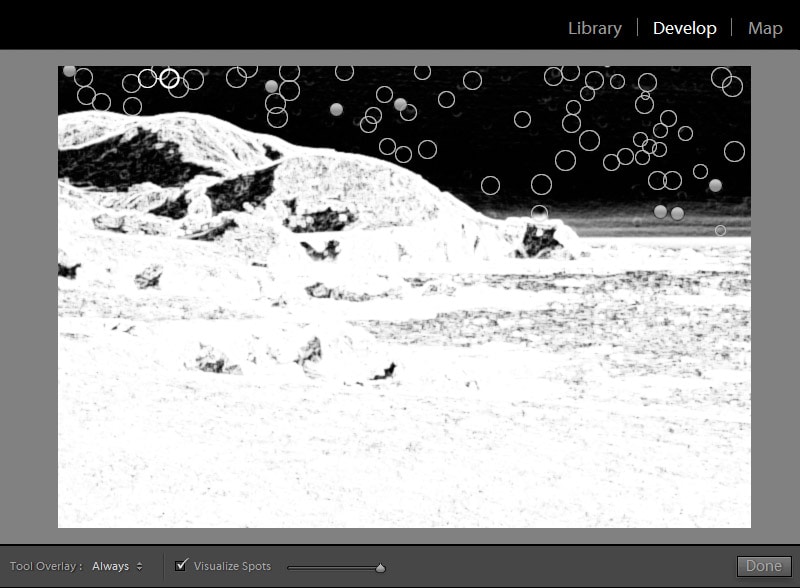
To help us to emulate the effect of editing on image imperfections the Visualize Spots has the Contrast slider.
I cranked up the Contrast by moving the slider all the way to the right.
Now the effect caused by dirty lens was obvious.

I selected the extreme case for this demonstration.
(If Toolbar is hidden, press keyboard shortcut “T” to make it visible).
Before taking the featured shot I spent a couple of hours in the coastal area of Garrapata State Park. It was windy and the big waves of the ocean generated seawater droplets on my lens.
When I finished I simply forgot to clean the lens.
The effect of dry saltwater droplets on the front element of my lens was extreme. The photo was pretty much ruined by it, but it made a good selection for this case study.
Next, I used the keyboard shortcuts “[” and “]” to set the right size for the Lightroom Spot Removal Tool and I started simply stamping the distracting spots with the tool.
When I finished this was the result.
I unchecked Visualize Spots checkbox and I was done with the cleaning.
This is the final result after I processed the featured image using the Lightroom Rapid Editing workflow.
As you can see the area of the sky is very clean and you can not notice any effects of the dirty lens.

Lightroom Spot Removal Tool: Conclusion
It is paramount to keep the lens and the sensor clean at all times to achieve the cleanest and sharpest images. But in cases when it is not possible to achieve at the time of taking photos, we always can use the Lightroom Spot Removal Tool during the editing to clean images digitally.