
If you are looking for a comprehensive Topaz Labs Software review, you’ve come to the right place.
But, if you know what Topaz Lab plugin you want and are looking for Topaz Labs discount code, use PHOTOTRACES at the checkout to get 15% off any Topaz plugin or complete the Topaz Labs bundle pack at Topaz Website.
As a reader of my blog, you know that I am pretty open about my editing as I reveal the processing steps for almost every photo I publish. You also probably noticed that every photo posted on this blog was edited, at some point, with at least one or two Topaz Software Labs plugins.
Not surprisingly, two of the most common questions my readers ask me about the Topaz products are: “What plugin should I incorporate in my editing workflow, and when do I use it?”
Topaz Labs Software Review or Cheat Sheet for Choosing the Right Topaz Plugins
I have to admit that Topaz Labs had one of the most confusing structures of its products. At one point, they had 16 different plugins, and, in most cases, their functions overlap with each other. Needless to say, it took me a long time to figure out what product to use and when.
But over the last few years, Topaz Labs completely restructured its products by depreciating many original plugins and introducing new ones. And of course, they slapped AI (Artificial Intelligence) suffix to all the products.
In order to help photographers who are just starting to use Topaz software, I have listed the plugins I use in the order of importance for my photography.
Topaz DeNoise AI
If I had to choose only one Topaz plugin, it would definitely be Topaz DeNoise. This is the only plugin I use with every single image I post on my blog.
Any Photoshop or Lightroom plugin is a simple “shortcut” or time saver. Typically, it is possible to achieve the same effect of pretty much any plugin using Photoshop; however, DeNoise is one of those plugins whose effect I cannot completely replicate using either Photoshop or Lightroom. Even though both applications have noise reduction tools, nothing comes even close to mirroring the effect of DeNoise.
The significant addition to the AI version of the Topaz DeNoise plugin is the sharpening functionality. Now, you have the option not only to reduce noise but to apply sharpening as well.
It means that the latest version of Topaz DeNoise AI replaces 3 original plugins Topaz DeNoise, Topaz Clarity, and Topaz Detail. It saves me time and money.
My favorite aspect of using DeNoise is that I do not have to use masking in Photoshop after I apply the noise reduction.
In a majority of my photos, I only need to reduce noise in the “flat” areas (sky, water, skin) because, at the same time, I also want to preserve as many details as possible in the “pattern” areas (architectural elements, grass, trees, mountains). Before I started using DeNoise, I had to apply noise reduction to the entire image and later use Photoshop to mask areas I wanted to keep sharp. Somehow, DeNoise detects those areas automatically and eliminates them from the application.
Below is the photo I took in Yosemite and it had excessive noise. It took me 15 sec to eliminate it in the area of the sky and to keep details of the mountains intact.
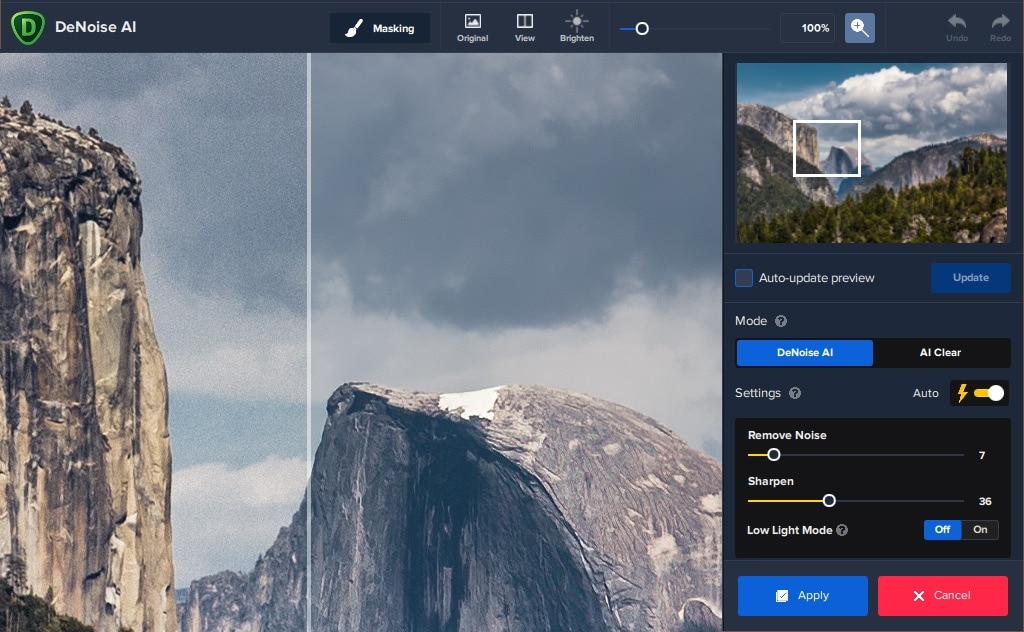
This powerful and simple tool saves me an enormous amount of time.
Topaz Sharpen AI
The Topaz Sharpen AI is a unique program. It manages to accomplish what was not possible before.
Let me explain.
I have a graphic design background, and one of the most used expressions among designers is “garbage in, garbage out.” It means that if you have bad quality pixels, no matter how you manipulate them, you will end up with bad pixels.
In photography, it means that if you have out of focus photo or blurry image caused by camera shake, you are out of luck.
The Topaz Sharpen AI attempts to change the equation by salvaging “bad” and “unusable” photos at a very high success rate.
The plugin has 3 sharpening modes: Sharpen, Stabilize, and Focus.

The Sharpen mode applies standard sharpening. The Stabilize mode attempts to address the motion blur caused by camera shake. And the Focus mode tries to deal with softness caused by poor focusing.
The Topaz Sharpen AI is a new plugin. It replaced for me original Topaz Clarity and Topaz Detail plugins.
Topaz Adjust AI
The Topaz DeNoise AI and Sharpen AI can be categorized as utility plugins because they do not create any specific looks in your photographs. Rather, they only help to enhance different aspects of the images.
Topaz Adjust AI plugin is more on the creative side and helps to creatively explore the art of photography by achieving a variety of effects ranging from very subtle to fully blown surrealistic.
With Topaz Adjust AI you can control the image exposure and colors, extend the dynamic range of the single image, recover the shadows and the highlights, as well as enhance the details. The possibilities here are endless.
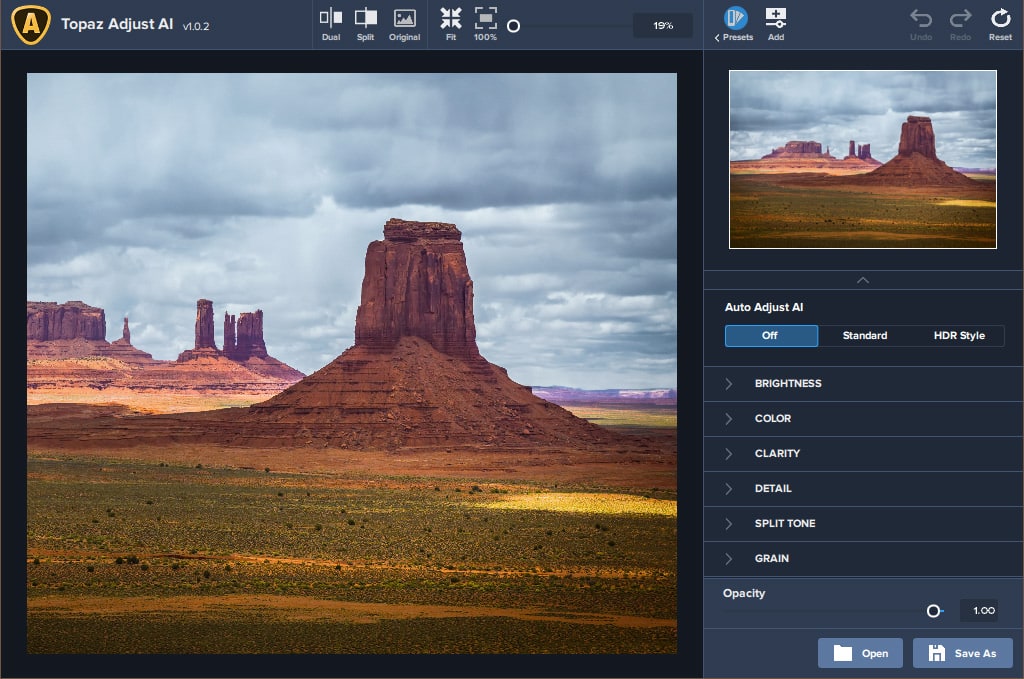
I use Topaz Adjust AI less often compared to the original version because the latest version has a significant overlap with Lightroom and Photoshop ACR.
And when I have a choice to achieve a specific look in my photo using Lightroom or using Topaz Adjust AI, I always default to Lightroom. I prefer to stay in the non-destructive RAW environment of Lightroom.
But when I use the Topaz Adjust AI, I use the following workflow:
- I always start by applying one of the presets included with the plugin.
- I switch to the right editing panel and work with Global Adjustments. I only use Exposure, Details, and Color adjustments.
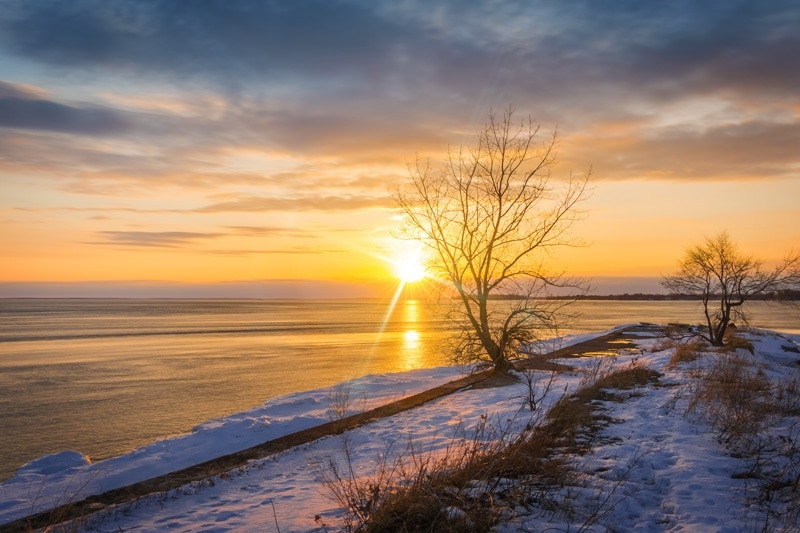
- The last step is the Finishing Touches adjustments. I always use the Transparency adjustment where I can blend the Topaz Adjust AI effect with the original image. I also use the Temperature adjustment quite often to warm up the photo, especially with sunset/sunrise photographs.
Topaz Star Effects
You probably know or heard about the shooting technique where you select the smallest possible aperture (f20-f22) and shoot directly into the sun or another light source to produce a starburst effect. The small aperture exaggerates the rays of light making them more visible and prominent.
The Topaz Star Effects allows you to create a starburst effect after shooting and in the editing phase.
I do not use this plugin on a daily basis but, sometimes it becomes an extremely valuable tool that helps me to achieve my creative vision without going back and re-shooting the scene.
The plugin has all of the possible adjustments and controls to make the starburst effect the way you want it.
-

Before -
After the Star Effects was applied
Topaz Star Effect is a legacy plugin, but it is still available on the Topaz website. I suspect they stopped developing it a long time ago. Nevertheless, It is always useful, and I use it quite often.
Below is the list of plugins I rarely use, but they can be very useful for specific workflows.
Topaz Labs Mask AI
Mask AI is a very useful plugin when you need to isolate a specific object in your images. The problem is Photoshop has very sophisticated and mature tools for advanced masking. And since I use Topaz programs exclusively as plugins in Photoshop, it is easier for me to do all the masking there.
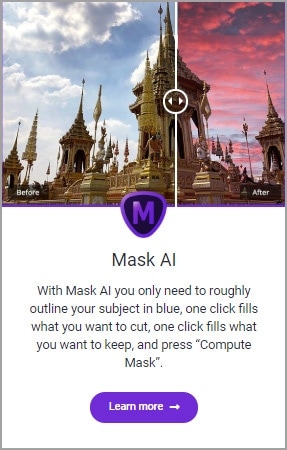
But, I found one case when using Mask AI is much more effective than Photoshop.
When I take photos of my family members and can not use the right camera settings to render the background out of focus, I can blur the original background in Mask AI in a matter of seconds. It takes much longer to achieve the same effect in Photoshop.
Gigapixel AI
You probably noticed when you need to reduce the size of photos, you always get the final image with the same or even better quality than the original.
But when you need to increase the image’s size, you always get soft, low detail often unusable results. The reason for that is when you upscale an image, the program has to produce new pixels (data) that do not exist in the original image. And producing something out of nothing never worked well.
But with the latest advancements in machine learning the enlarging or upscaling programs became much more effective.

And the Gigapixel AI is by far the most effective upscaling tool I’ve ever used. It is capable to enlarge your photos up to 500-600% while preserving details and mage quality.
JPEG to RAW AI
Topaz Labs claims that converting JPEG to RAW helps to recover data lost during the RAW to JPEG conversion and JPEG compression.
I have not tested it enough to assess its real effectiveness, but I have an idea of how it can be used.
Real-life Example of Upscaling Workflow
Let’s say you lost the original RAW photo you took 10 years ago. All you have is a low-resolution JPEG version (800 x 600pix) with noticeable JPEG artifacts. There is no way you can print it and hang on the wall.
But with the Topaz AI workflow, it becomes possible.
- Convert original image from JPEG to RAW using JPEG to RAW AI
- Upscale the photo to 4800 x 3600px with Gigapixel AI
- Remove noise and artifacts with DeNoise AI
- Boost details and sharpness with Sharpen AI
And now you have a usable image you can print.
Topaz Video Enhance AI
Since I am still a photographer, I have the least experience with Topaz Video Enhance AI. But I can see that it uses the same technology as the Gigapixel AI and Sharpen AI plugins.
I can see 2 scenarios of how to use the program:
- You can enlarge video files with minimal loss in quality. For example, you can upscale HD video to 4K version
- You can grab still frames from video files, upscale them, and sharpen them.
For example, you can have a usable high-resolution image extracted from HD video.
Picking the Right Topaz Plugin
As a still photographer, if I had to choose only one Topaz plugin, without hesitation, I would pick Topaz DeNoise AI
If I had to pick 2 plugins, it would be DeNoise AI and Sharpen AI.
And if I needed more than 2 plugins, I would go for the bundle.
Conclusion
I hope my short review of Topaz Labs plugins will serve as a roadmap for you. Over time you will find your own ways and establish your unique workflow based on your personal style and artistic vision. And when you do, I hope you take a minute and share your unique ways of using Topaz plugins with the rest of us.
Topaz Labs Coupon Code
Once again, if you know what TopazLab product you want and are looking for a Topaz Labs discount code, use PHOTOTRACES at the checkout to get 15% off any Topaz plugin or complete the Topaz Labs bundle pack at Topaz Website.